Reading view

Fall Work On Satsuki Azalea

You wouldn’t think Japanese Black Pine and Satsuki Azalea are similar in any way. And yet the common techniques for Black Pine and Satsuki are mirrors.

In spring we trim the new growth. In fall we simplify the robust summer regrowth. 

Both strong plants, under normal care and reasonably happy Black Pine and Satsuki will predictably regrow from the spring trim. And for both plants the spring trim has similar goals: 

  • Create greater ramification
  • Create short internodes
  • Reduce leaf / needle size

In the case of Azalea there is another goal, to produce more flowers, which grow at the end of each summer shoot. Then in fall we reduce the shoots and organize the flowers so each has a space to open. 

A Satsuki in fall colors. 

First remove the large yellowing leaves. These leaves grew in the spring. The summer growth has smaller leaves (like smaller needles on Black pine), which in this photo are dark green. Although not a 100% rule, most azaleas have hairy leaves while rhododendrons have smooth leaves.

Any long shoot should be cut off if not wired. They can sap energy from the shorter, finer growth created over the summer.

Here’s a before and after of one branch. 

After the removal of large and yellowing leaves and the dense areas with too many shoots reduced. Now every flower has space to open and each shoot has its space, ready for spring. The large yellow-green buds are the flower buds. Established Satsuki hold their branch set from past wiring for several years, and those with plenty of shoot options often only need scissors for this fall task.

Completed Azalea with dense areas attended to and all areas thinned for uniformity throughout the bonsai. This azalea hasn’t had a wiring reset for a few years, and now the crown is getting too broad. It’s close to needing a significant spring prune back which for a Satsuki is every 10 years on average, after it has ballooned past its ideal canopy size. But at least this bonsai is ready for next spring. 

Find next year’s Satsuki steps here: Satsuki Azalea Early Summer Work: Fishtail.

  •  

David Cheshire presents

By:RA

Massive thank you to David Cheshire for visiting our December meeting. Not only did David provide retail therapy to club members; he also provided a short discussion on his bonsai philosophy and some of the techniques he has been developing inline with his approach for a more natural bonsai aesthetic. Our members got a great deal from his thoughts and observations.

You can visit David Cheshire website through this link: davidcheshirenurseries.co.uk

Club members also enjoyed a festive social and displayed their penjing landscapes

The post David Cheshire presents appeared first on Swindon & District Bonsai.

  •  

When is Less, More?

There is a whole school of thought in bonsai that less is more; that if you eliminate something from a tree you will end up with a result that is a better, more interesting bonsai. Basically, bonsai by subtraction. I generally advocate for a different approach. As you may be able to tell from the number and variety of trees I grow from seed and cutting, I tend to grow trees into bonsai, rather than chop them down. Both approaches are valid; to me, the chop-down approach seems to be an excuse to always be making large cuts followed by carving efforts to make a tree more compact and more powerful.

So when I make the decision to eliminate large branches from trees, it's only after I've carefully considered all of my options. This is particularly true for trees that are old or well established. There is what I like to call “the first-brancher”; a tree that has been cut back all the way to nothing but the first branch of the original composition. This frequently ends up producing a tree that is much simpler, but depending on the trunk movement, not necessarily more interesting.

This little pine had been sitting around my yard for a few months, one of a large batch of trees that I got all at the same time. In 2014 I offered it for sale to a few people, but nobody seemed interested. The tree’s problem was that while it had some good trunk movement and an interesting nebari, the branching was too long to be a nice little compact informal upright. Grafting back foliage onto the larger old branches may have solved the problem; that would have taken a couple years to accomplish. Growing out a sacrifice branch to increase the trunk size also could have changed the proportions enough to make the tree significantly higher quality, given at least 2 years and as many as 5 years, depending on the finished size.

Left: before. Right: Mid-wiring; a different tree appeared. I had bent the lower two branches down and inward to make the tree more compact and more interesting. That awkward low branch on the right didn’t quite agree with me even after I bent it.

As I sat wiring the tree and bending the branches, I realized that less might actually be more in the case of this bonsai. I had bent the low branch on the right from the side and twisted it to accentuate some movement that was already there and to get the foliage where I wanted it to be in the composition. But it just didn’t quite work.

The trunk section above the second branch was also not very interesting. And, the branching that made up the top portion of the tree was almost as large as the trunk itself. I sat looking at this for a while, then had the idea to make the space between the two lower and upper branches shorter by bending the upper section of the trunk. Unfortunately, a few tweaks with my fingers told me that not only would this not greatly improve the tree, but that it was going to be difficult to get the section of trunk to set into its new position. It seems that the tree had been weak for a while and black pines tend to make very stiff wood when they are unhealthy. 

After analyzing the low right branch and the top and finding them lacking I found myself staring at the second branch and the trunk line that lead to it. The tree seemed all of a sudden much better than it had before. I knew it would take at least 2-3 years to get the crown to look full, but there was no doubt in my mind that cutting off the branch and the top was the right decision. 

Top Left: Off comes the top! Bottom Left: Off comes the first branch! Right: The tree after reducing to just the second branch. The composition is much clearer, more compact and more interesting.

Left: Using the camera to visualize what the tree will look like when it is just the one branch. Right: After!

As in this case, if you can make a bonsai tree drastically better by eliminating something, then less IS more!

  •  

Small Black Pine Progress

Each fall, I can hardly wait to get started working on my Japanese Black Pines. The long summer season of working on Juniper and Cypress finally winds down, and I can get to serious fall work on all types of conifers. While I probably have more Cypress work that I could be doing (they never stop growing!) I’ll gladly take some time to go through my black pine collection and focus on needle pulling, bud thinning, and wiring.

Each tree needs slightly different work, on the stage it's in. Many of the trees that I’m growing are need wiring touch-ups each year.

This first tree was dramatically reduced the year prior - and improved in the process - but it will take a few more years to really see where we’re going with this one (the sketch below is my long-term vision.)

Before work. The tree grew shoots after candle cutting that are bit longer than desired.

After work. The central apical bud from the previous fall grew strongly and two small buds appeared at it’s base. I bent the upward growing shoot toward the back to allow the smaller buds to grow also.

Second, is a tree that is now 10 growing seasons old. The main work here is reduction of buds around the decandling sites, reduction of old needles and in this case I had to decide on a top once and for all. The prior year I left two candidates but I finally cut off the one that was larger and further to the right because it just didn’t seem like it would ever work as a compact top for the tree.

The previous year, after cleanup and wiring to create the basic style.

Six months later, a closeup of the problematic top on the right and what I ultimately decided to use on the left.

Before work.

After thinning, needle pulling, and some wiring. You can see the eliminated apex as a jin on the right near the apex.

Finally, the little tree below is one of my better successes from my second batch of Japanese black pine. I have others coming along, but none quite as well as this one. While it may be good enough to show now in most club shows, I think another year or two of refinement and repotting into a smaller container will really polish this tree.

Before work.

After needle pulling, thinning, and a little wiring.

  •  

Working with Collected Ponderosa Pines for Bonsai

Among American native pine species, Ponderosa is perhaps the most popular species to collect and train as bonsai. I can think of numerous other species that seem more suitable to bonsai based on needle characteristics, but the relative ease of availability of good, collectible Ponderosa specimens make them more popular than other pines (e.g. Lodgepole, Western White, or Shore). 

Ponderosa can have a wonderful ruggedness to them, exhibiting bark as flaky or crusty as any tree. The sometimes twisting trunks and branching can be a wonderful starting point for a powerful bonsai composition.

A large Ponderosa – the foliage is in scale with the large size of the overall composition. The needles on this tree are two or three inches long typically.

The same tree after restyling. The needle length on this tree has come down over time and the restyling accentuates the movement of the trunk while keeping the native foliage. This tree will be repotted at a different angle and ultimately the branch on the right that is wrapped in a towel will be eliminated.

The natural variability in needle characteristics in Ponderosa is such that you might assume that there are different species. In fact, there are numerous varieties and even variation within the recognized varieties. In hiking in the central Sierra Nevada I find trees with large, straight, and slightly yellow-green needles, while trees collected in Oregon and in the Rockies seem to have shorter and greener needles. In some cases the needles are much less straight and the trees look very unkempt in their natural state. Is it important for needles to be straight for bonsai purposes? The answer to that may be an opinion rather than a fact, but having straight needles certainly contributes more to a look of cleanliness and order.

The rate at which Ponderosa grow in containers is also something of a puzzle. These are trees that can reach 200 hundred feet high in the wild; you would expect them to be able to grow quickly. Yet, across all the specimens that I have had, even the strongest typically will only make branch extensions up to about 1″ per year while in a bonsai container. The mixed curse and blessing of this is that if you have all the branching you need at the time of collection you can, in a few years, create a tree that will be very low maintenance. The opposite is true of a tree where a large amount of foliage is needed to complete the composition – it will take many years for the tree to create this in a bonsai container.

Whether or not enough foliage is present on a collected tree and the specifics of the needle characteristics are not typically among the most important factors in selecting a good specimen in bonsai. Typically you should be more concerned with the shape and movement of the trunk. But, collected Ponderosa can have an enormously-long timeline before they become show-ready if you don’t think of a way to overcome these issues.

Grafting Japanese Black Pine (JBP) or Red Pine (JRP) onto Ponderosa is one solution to both the slow-growing foliage and the sometimes undesirable needle characteristics.

A lanky Ponderosa grafted about three years ago. The old foliage was too far from the trunk to easily make a tree. While the scale of the foliage would have been fine, the twisting nature of the needles and the long branching meant that grafting was the best option. After removing the last of the Ponderosa foliage and wiring the new JBP foliage down, the tree is on its way to being a nice pine bonsai. The JBP foliage will grow quickly and the tree will likely have a good style in only 5 years, with more mature branching possible in 10 years.

Since Ponderosa cannot be decandled like JBP or JRP to manage needle size, the foliage is more difficult to use as the scale of the composition gets smaller. Trees that are under 15-18″ as a finished bonsai will often be challenging to style with good detail. While grafting has its own challenges, it is certainly a good option for smaller Ponderosa trunks.

This Ponderosa is about 15″ tall right now. It may appear that the foliage is misplaced, but in fact it’s not. A few key bends will bring it down to a good position. The problem is that the scale of the foliage will never match the scale of the composition.

After adding 5 grafts to the tree. It should take about 2 or 3 years to transition the tree to JBP foliage. After that 5-10 years of ramification and branch creation will make a wonderful small tree with wild character in the trunk and beautiful foliage to complement.

  •  

Blue Atlas Cedar Saga

While not a traditional bonsai species, Blue Atlas Cedar seem to be good subjects for bonsai. They have short needles naturally; grow quickly under good conditions; and seem to respond well to bonsai work. I've never seen this species in Japan, and I’ve never had many of them, and those I've had generally come and go quickly from my yard. With one exception - the subject for this article has been with me since 2005.

 August 2023 update: check out this video!

Years ago, Jim Gremel of Deer Meadow Bonsai told me that when he began his growing operation, he screened many different species of trees in tests to see which would be better to work with. Atlas Cedars was one of the species that he concluded were very useful. When I visited his nursery, he was making good progress; he had hundreds of Atlas Cedars growing in his fields and many more in containers.

Rows of Blue Atlas Cedar, Green Atlas Cedar, and Black Pine at Deer Meadow Bonsai.

There are more good than bad aspects of cedars, but among the species' most problematic traits is that it lacks an ability to reliably back bud on old growth. When I acquired this tree there was no growth within 18″ of the trunk. There was a good base with some nice flare to it, and a trunk with some movement, but there was nothing to use to build a canopy.

The tree had been grown in the ground by a former member of the Bonsai Society of San Francisco. He had used the double colander technique that is most often applied to pine trees; when I got the tree I had to dismantle a mess of tangled roots and colanders before potting it into a large container to grow for a year.

After the tree was healthy, I had to figure out how to use the trunk. It was clear that my only option was to graft the tree. At the time, not knowing much about grafting I was a bit flummoxed about how to proceed. I formulated a plan to do approach grafts since they were a higher success rate and I had been told that cedar are difficult to graft due to the thick bark.

My plan was to grow out shoots from the existing top branch and to bend them around gradually to be in position for approach grafting. I think I may have been inspired by a thread grafting demonstration that was using trident maples as a subject. Unlike tridents, cedars in containers send out only about 6-12″ of growth per year in my experience. Thus it took more than two years of growing and waiting before I had enough growth to get the grafts in position.

As I look back at this plan I can’t help but wonder why my past self didn’t think to obtain a couple young blue Atlas cedars from a nursery and use them for grafting…thus saving myself two years of waiting. But, as with all things, I can’t go back and do it more efficiently, instead I can only take this as a lesson - the next time I want to try something I don't full understanding, I should make a plan with someone more experienced! 

I completed the grafts in the summer of 2008 and unfortunately I don't have photos of the process. I recall being nervous about the success chances and being nervous about damaging the trunk in the process. By early 2009 it appeared that the grafts were taking so I started the process of transitioning them to growing from the trunk.

March 2009, in the garden. While transitioning the grafts, bark is scraped off of one side and the wood slowly whittled away beneath the graft point.

April 2009, before work.

April 2009, after wiring. I wired the growth that would be the branching while the grafts were still transitioning. Cedars like to spring back up after wiring so I didn’t want to wait until the branch grafts took out of concern that they would already be difficult to bend.

In early 2010 I moved to SoCal. I found that cedars, like many of my other trees, didn’t grow as well in Thousand Oaks as they did in San Francisco. Thus, three years later, while the grafts had been completed and the tree was growing, it was not growing so well that I made much progress. In late 2012 I moved back to San Francisco. It didn’t take long for this tree to take off again. 

October 2013, after wiring additional branching.

With the climate on my side and the tree growing well, this tree made a lot of useful growth in a short period. Between 2012 and 2015 I had three good opportunities to refine the tree, each time with a full canopy of shoots to select from. All that I had to do was choose the right ones and wire them into place. I find that wiring the branching without smashing needles is quite challenging, even more so than wiring Japanese Black Pine branching.

May 2014, before work. The new shoots that the tree made were all looking healthy and ready to be either positioned or cut back.

May 2014 after wiring some branching and reducing the tree a little.

As you can see in the after photo from May 2014, I had the notion that I was going to create another layer of foliage above the existing one. The idea in my head was that the tree needed to be slightly taller so that the taper in the trunk would match proportionally with the height of the foliage mass. I had planned to allow the top branch to grow out and then create just about another inch or so in height.

May 2015, the tree was growing quite well for the third year in a row so I was able to harness the growth and refine the silhouette once again.

December 2015 – the canopy is as refined as it will be for this year.

Ultimately, it seemed that the top didn’t need to be any taller than it already was and that filling out the sides was enough to create the silhouette that I needed. Boon Manakitivipart and I had repotted the tree back in 2011 but left it in an over-size ceramic grow pot since at the time we had some health concerns. In December 2015 the branching was looking good and it was time to prep the tree for its first show the 2016 Bay Island Bonsai show. 

I had selected an older Japanese pot for the tree, one with a wide rim and flared sides because it suited the large nebari and relatively compact form. Once I settled on the container the challenge was to make the tree fit. The nebari of the tree was considerably larger than the trunk and it was very deep front to back. The tree barely fit into the container!

Repotting was challenging – the tree barely fit into the new container because of the large nebari.

The photo at the top of this article shows the tree potted up into the show container and the branching cleaned up. The 2016 BIB show featured trees under 18″ only. This tree at about 16″ stacked up nicely. Read "The Finer Points of Making a Bonsai Stand" to see the tree in the BIB show on the stand I built for it. 

2021 Update: Here's what this tree looks like today! You can see how the crown and branch pads have filled out.


  •  

Making Bonsai Stands Creates Lots of Sawdust

Over the last few years I've been using my background in woodworking (a hobby starting from childhood) to make bonsai stands. At first, this was just a way to have good-looking bonsai stands at a reasonable cost; I figured that a bonsai stand couldn't be that difficult to recreate. More recently, this work has turned into a desire to create unique pieces in the tradition of both western and eastern woodworking.

Anyone who's ever thumbed through an issue of Fine Woodworking is familiar with the concept of a mortise and tenon joint, one of the foundations of woodworking in western traditions. The intricate and complex joints that have historically been used in Japanese and Chinese furniture are far less familiar to the casual woodworker. 

I used this Kokufu-ten show book as reference material. 

A concept drawing for a stand at left and a traditional stand at right. For this article I’m focused on replicating the stand in the photo.

I normally start with creating the top of the stand. The size of the panel is largely determined by the size of the bonsai pot that you want to put on it. Traditionally, the feet of your pot should sit comfortable inside the rectangle created by the outside of the panel and inside of the frame.

Gluing up the two halves of the panel for the top.

The frame for the panel is four pieces of wood - just like a picture frame - mitered at the corners. For this stand I’m also using an integral through-tenon, which is a piece of wood that will neatly hold the joint together even absent any glue.

With the panel ready, and the frame pieces already cut to include a groove to fit the panel sides, I set up a table saw sled with a miter jig to cut the sides off the tenon and create the miter.

The mitered frame pieces, with integral tenons, ready for some fine-tuning and dry assembly.

The integral tenons slide into mortises in the front and back.

Looking at part of the assembled top, the end of the tenon is visible on the front of the stand. Pencil marks show how the side piece goes through the front piece.

With the top done I moved onto the leg assembly. The simple elegant look of a three-way miter belies the complexity of creating a system beneath the facade that will hold three pieces of wood together. Glue alone is not enough.

The top of the legs – they contain a miter on the outside, and two different mortise and tenon systems on the inside.

A view from the back as the joint comes together.

The traditional stand in front with a second stand, destined for a slightly different finish behind. The two are similar, but the leg joinery is different. They will be similar in size, but have different looks when finished. Both stands are simply fit together here, no glue except on the center joint of the panel. The joinery is such that the stands hold themselves together. Ultimately they’ll be glued together also.

After creating the joinery and fine-tuning the fit of the pieces it’s time to cut the legs to shape. I use a template to make sure each leg is the same. And another template for the aprons.

A view of the legs and side pieces after cutting them on the bandsaw.

With the pieces roughly shaped on the bandsaw, the look starts to become more obvious.

The next steps will be to do the final shaping in the legs and aprons, then glue them and add the finish. There’s more sawdust on the way.
  •  

Introducing the Pacific Bonsai Expo

In just under twelve months from today, the doors will open for the first Pacific Bonsai Expo, "An Exhibition of Extraordinary Bonsai". We are proud and excited to be co-creators and sponsors of this event with Jonas Dupuich of Bonsai Tonight. The Pacific Bonsai Expo is a juried exhibition featuring outstanding bonsai displays and a selection of the community's top vendors. 

We wanted to give you a sneak peek into what the event venue looks like. The Pacific Bonsai Expo will be held in the San Francisco Bay Area at the Bridge Yard, an East Bay Regional Park District Facility in the Judge John Sutter Regional Shoreline Park. 

Juniper

Eric's Shimpaku juniper in front of the Bridge Yard

Holly

Yaupon holly inside the Bridge Yard

Thinking ahead of to November 12-13, 2022 makes today a great day to look at your garden and see what your trees look like at this time of year. Why? Because preparing bonsai for exhibits often starts one or more years ahead of the event. Checking your trees twelve months (or more) out can give you a good idea of what a tree will look like at the time of the event. If you're considering entering a tree to be considered for the Pacific Bonsai Expo, check out this have basic information on the event website. The submission period opens in February and runs through April 2022. Bookmark the site and check back periodically, as we'll be updating it with more information ahead of the submission period. 

In the meantime, watch Eric and Jonas introduce the Pacific Bonsai Expo and discuss the basics of the jurying process. Please leave us any questions you have in the video's comments!

  •  

The Finer Points of Making a Bonsai Stand

When I was growing up my dad used a belt sander for everything. Need to smooth out some rough lumber? Belt sander. Need to round off the edges? Belt sander. Ten-year-old me thought the belt sander was the most versatile tool in the shop!

In my mid-20's, I learned that jointers and planers are used for smoothing rough lumber. And routers or block planes generally work for rounding edges. My desire to design my own bonsai stands for my show trees lead me to another woodworking epiphany - if you want to create something with more nuance, even a router will sometimes have some difficulty.

I discovered hand tools as a result of my attempt to recreate a bonsai stand I saw in a Kokufu album. I went to a woodworking store looking for a router bit to put a bead detail on the stand, and I realized that such a bit didn't seem to exist.

Putting Away the Power Tools

Ever since that epiphany, once I'm past the rough lumber stage of creating a stand, I largely switch to hand tools and hand work. I first square up the wood for creating the joinery, then band saw to rough shape to create the curves. After I'm done with the band saw, my garage (aka my woodworking shop) gets a lot quieter. While many woodworkers will turn to a spindle sander, random orbit sander, or a piece of sandpaper, I've developed a preference for the texture created by a sharp piece of steel slicing through the wood fibers. Sandpaper will tear a piece of wood, creating a dull finish. To get a smooth finish you can go through many different grits of sandpaper, each one eliminating the scratches left by the previous. Or you can use a spokeshave, block plane, chisel, or card scraper and knives to cut the wood instead. Cutting leaves a sheen on the wood and a type of irregularity in the surface that dances in incidental light, beckoning for attention.

To replicate the stand I saw in the Kokufu album, I had to learn more about hand tools. I discovered the concept of a moulding plane, which is the predecessor to a profiled router bit. Tool swap meets abound with piles of moulding planes with various profiles, each designed to cut a particular shape of moulding by hand. I learned that moulding planes are great for long runs of wood. For my stand, I was working with short runs, so I settled on a similar device – a custom profile scraper. While the plane cuts with a knife edge which is wedge-shaped and pointed, the scraper cuts with a small hook of steel that is just as sharp, but bent into a curl and so small that you can’t see it. Scraping the steel along the wood cuts a small layer off; repeating this a few dozen times allows you to cut a custom profile using only a small piece of scrap steel and a piece of wood to hold it and act as a fence.

The scraper and the four legs after being scraped to create the shape.

A comparison of the unshaped leg at right and a shaped leg at left.

Once I've roughed out the shaping of the legs, the horizontal support structure, and the apron, it's time to glue the pieces together. I find gluing stressful; I can't go back or undo it, and the working time on the glue is only about 20 minutes. I've learned from experience to tune up the fit of the joinery extensively prior to gluing. I add glue to all the mating surfaces and then I clamp them all together using a strap just like one used to tie something onto a pickup truck. The strap pulls the points of the joints together nicely, and bar clamps are generally too heavy for this type of delicate piece; they can cause the legs to rack out of alignment. 

Once the rough form is glued and left to cure for 24 hours, it’s time to do the final shaping. My goal is to cut the joinery precisely so I'll have minimal mis-alignment. I use a scraper or block plane to level out any joints that are not meeting perfectly. The rest of the shaping is aesthetic rather than functional.

For this stand design, the top will float above the bottom on pegs. While I suspected that these are typically made from wood, I preferred to use reclaimed copper wire. With a couple coats of finish on the wood I carefully mark the positions of the wire and drill out holes in the base and the top to match. There are two verticals on each front and one on each side.

Making the rods that will hold up the top. I used old copper wire, pounded it straight with a hammer, then dunked it in Lime Sulfur to turn it black. The patina created is easily flaked off, so I coated it with a spray varnish. I cut the rods to length after the finish dries.

A view of the details of the finished stand. Just like bonsai, the delicacy created by the right details creates a pleasing composition.

The stand took me a few weeks to complete - time that was well spent when I used the stand to display my Blue Atlas Cedar (below, right) in the 2016 Bay Island Bonsai show!

  •  

Bonsai Show Prep

Almost immediately after I started doing bonsai, I was introduced to show prep. My first teacher was preparing more than 15 trees for an annual show and put me to work adding moss to a saikei (planted landscape). Years later as a bonsai enthusiast, I was doing the same type of work to my own trees. My decisions on what trees to show and when are driven each year by the success and failure involved in growing my trees into top condition. When a tree really starts to look great I start to think about showing it. The road to that point can be long, somewhat like a marathon. In the final year leading to it being ready to show, the tree will typically take much more time and effort than it had previously.

Show prep starts with the decision to show a tree. From there, the focus is on styling the tree - wiring, fine branch setting, and trimming. If the styling comes out well - and the tree doesn't need to fill in again - then it’s getting close to ready. The next major hurdle is finding an appropriate container and getting the tree to fit into it. The last step is to "spit shine, shoe polish," and moss the tree - apply moss and clean up any remaining issues. Then get ready to enjoy the results of your hard work - it's quite an experience to see your tree on display in a show!

After repotting the tree, fill the pot with soil. When preparing to moss it a few weeks, remove enough of the top soil to make room for the moss. Adding a small amount of shredded sphagnum moss will help keep sand, mud, and debris from the moss from filtering into the bonsai soil below.

Applying the moss is a mixture of rote application and a bit of artistry. Fitting it between the roots can accentuate parts of the nebari while hiding other minor problems.

For this exposed root pine, I did a maintenance repotting to freshen the soil. The pot did not change.

After applying a layer of fresh moss for the show.

The small pine, in the show!

  •  

You Can Grow Red Japanese Maple Bonsai from Seed

Starting trees from seed is one of our favorite things, and we want to encourage you to give it a try, too! We're not sure why so many of us in the U.S. believe that they cannot grow interesting cultivars of Japanese Maples from seed (maybe it's just a really successful covert marketing campaign from US landscapers?!) The truth is that you can pick seeds from a red-leaf Japanese Maple and sow them, and the result will be healthy seedlings that can have a wide variety of leaf characteristics?

Sadly, the common misconception about our ability to start maples from seed leads most of us who want to grow red-leaf Japanese maples to a garden center or specialty nursery, to buy a grafted tree. And unlike the wide variation in leaf characteristics you can achieve from sowing seeds, in most cases the grafted tree has predictable foliage characteristics, and is attached to root stock that is more robust than some seedlings (often a normal green-leaf variety of A. palmatum). The graft union is an undesirable characteristic for a bonsai and it will normally always be visible - an obvious sign of human intervention. Even with mature bark there is normally some difference in the color or other characteristics of the bark, making it challenging to create a flawless bonsai.

Examples of Japanese Maple Bonsai Grown from Seed 

We've found that when we sow seeds from Japanese maples, they will reproduce some approximation of the parent tree's characteristics. So, if you want a red-leaf maple bonsai and you sow 50 seeds from your favorite red-leaf Japanese maple, you'll end up with 25 with red leaves (the rest might be green or pink or something else!), and of those 25, ten might have a leaf characteristic that you like. 

Rough bark on an Arakawa Japanese Maple

The tree in the image above is obviously a rough-bark variety - the leaves are medium size and the nodes are longer than many cultivars used in bonsai. In this video Eric works on young Japanese maples. Each one has slightly different leaf character.

Seedlings germinated from the unnamed cultivar below were a mix of lace-leaf red, full-lead red, and a green similar to the parent tree with large green leaves and colorful twigs, seeds, and petioles.

Red seeds on a green leaf Japanese Maple

How to Sow Japanese Maple Seeds to Grow Bonsai

Pick fresh seed in early fall; you can judge whether it is ripe by how easily you can remove it from the mother tree. Fresh maple seed can readily germinate quickly without any special treatment. If you instead allow the seed to dry, then you may have to provide stratification. The simplest technique is to sow the fresh seed in fall in a tray of soil, keep the tray in a cold but not freezing place until spring and then set it out in the sun. Protect the young seedlings from late-winter/early-spring cold snaps and then watch them grow! Using a greenhouse, starting them indoors, or otherwise protecting them is a good idea.

Don't be afraid to experiment with plant genetics - just be prepared for surprises when you do, and embrace the natural variations!

(Footnote - the main image at the top of the article is actually fall foliage on a trident maple, not an Acer palmatum.)

  •  

Incremental Progress in Trident Maple Bonsai

Inspired by some of the most amazing stories of Maples in Japan, I’ve tried my hand at developing more than a few deciduous trees from scratch over the last ten years. What do I have to show for it? Some success; some utter failure; and some modest progress. The value of the failures is possibly greater than the value of the successes, if only because they have taught me many of the mistakes to avoid in developing these kind of trees.

Starting about 7 years ago I have made some progress on a few of the trident maples in my original batch of seedlings. Meanwhile, I started a second batch of tridents last year; this time with the intention of growing many more of them to maturity than the first time around. The trees in the first batch are coming along, each at their own pace. Here’s one example:

June 2013, after a partial defoliation and wiring. The sacrifice branch has been established at the back.

January 2015, after one year planted in my yard. The trunk more than tripled in diameter.

March 2015 – as the buds are swelling and the tree is starting to grow I made a wedge cut to partially separate the sacrifice branch. This is a technique that I first saw in the yard of Mr. Ebihara. Read this Bonsai Tonight entry on Ebihara’s maplesthere are a couple good images of some of the sacrifice removal techniques that he and Ooishi developed and used.

Late April 2015, I defoliated the finished branching and left the sacrifice to continue growing.

January 2016, Dug up and potted into a bonsai container. I cut the top of the sacrifice but did not remove the entire thing. The wood growth swelled right over the wedge that I had cut in the spring.

While this tree still has a long way to go to be a great bonsai, I’m optimistic that the compact node and branch structure I’ve been able to put at the core of the tree will serve it well in the next few years. The tree needs to grow a new sacrifice from above the original one to help smooth out the taper. My goal for the tree is to continue the trunk refinement while I simultaneously work on the branching.

The other element that needs to be addressed is the root base. For a trident the tree is nothing special. I potted it a bit high in the container with the thought that I may try a ground-layer to get a new start on small roots at the base.

The story of my second batch of seedlings fills in what happened with the tree above before the first photo I have in my archives from 2013. This is my second batch of trident seedlings:

In November 2014 I picked a couple hands full of trident seeds off a street tree near my house. After de-winging them I put them in a jar for soaking; I followed that with leaving them in the fridge over the winter.

February 2015, planted out in a flat they starting to sprout. The germination rate was good and I ended up with about 50 seedlings.

May 2015 – By the end of May they were already large enough to wire. I wanted to be able to put strong movement into most of these trees so I started with the outer seedlings in the flat and wired each one while it was still in place. The wire was removed about a month later, after the trunks set.

April 2016 – the seedlings are a bit over a year old and I’ve transplanted them into individual containers. The growth since last summers wiring has been twisted up a bit using a new batch of wire.

With these seedlings I’ve taken a lot of time to create movement in the trunks before they get too big to work with. It doesn’t take much wood in a trident to make it stiff enough that you can’t get any bend into it. I recommend using wire at every opportunity to add movement to future trunk sections and to adjust branching as needed.

Incremental progress is the magic of bonsai, because really there is no magic. It’s just a logical set of steps, each one executed at the right time, and with the intention of improving the tree or trees over a long period of time. Whether you start with a piece of nursery stock that needs cutback and branch development or a jar full of seeds, the process you use will be what makes your trees mature into great bonsai.

  •  

Is My Water Good for My Bonsai?

Tap water (also known as municipal water, water from faucet, or running water) is commonly used for drinking, cooking, and bathing. It's generally provided for and regulated by a governmental agency for the purpose of keeping people - not bonsai trees - healthy and safe.

Fortunately, many tap water sources are also safe for bonsai trees and other potted plants; using tap water for your bonsai makes the most sense unless you know there is a problem. 

Despite tasting like just water, tap water (and other water) typically contains many trace elements and compounds that contribute to its taste as well as the way that it interacts with people and plants. For plants, the trace amounts of elements like iron, manganese, sulfur, and calcium among others can be beneficial, providing nutrients that are not readily available in the soil or potting mix. It's when some of these minerals are present in higher concentrations that you may start to see problems with plant growth.

Symptoms of Water Quality Problems

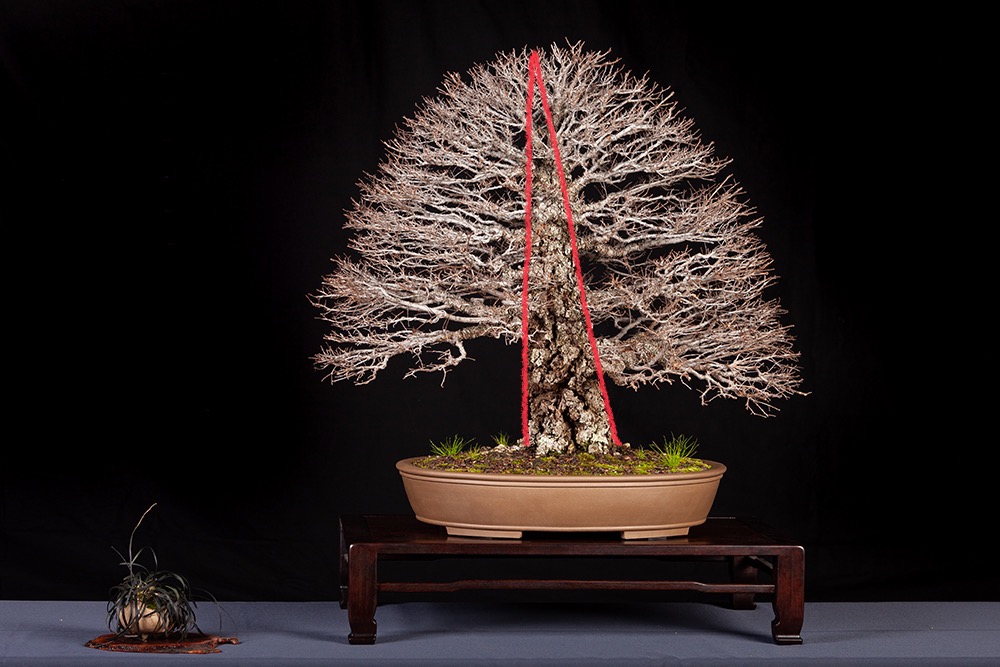
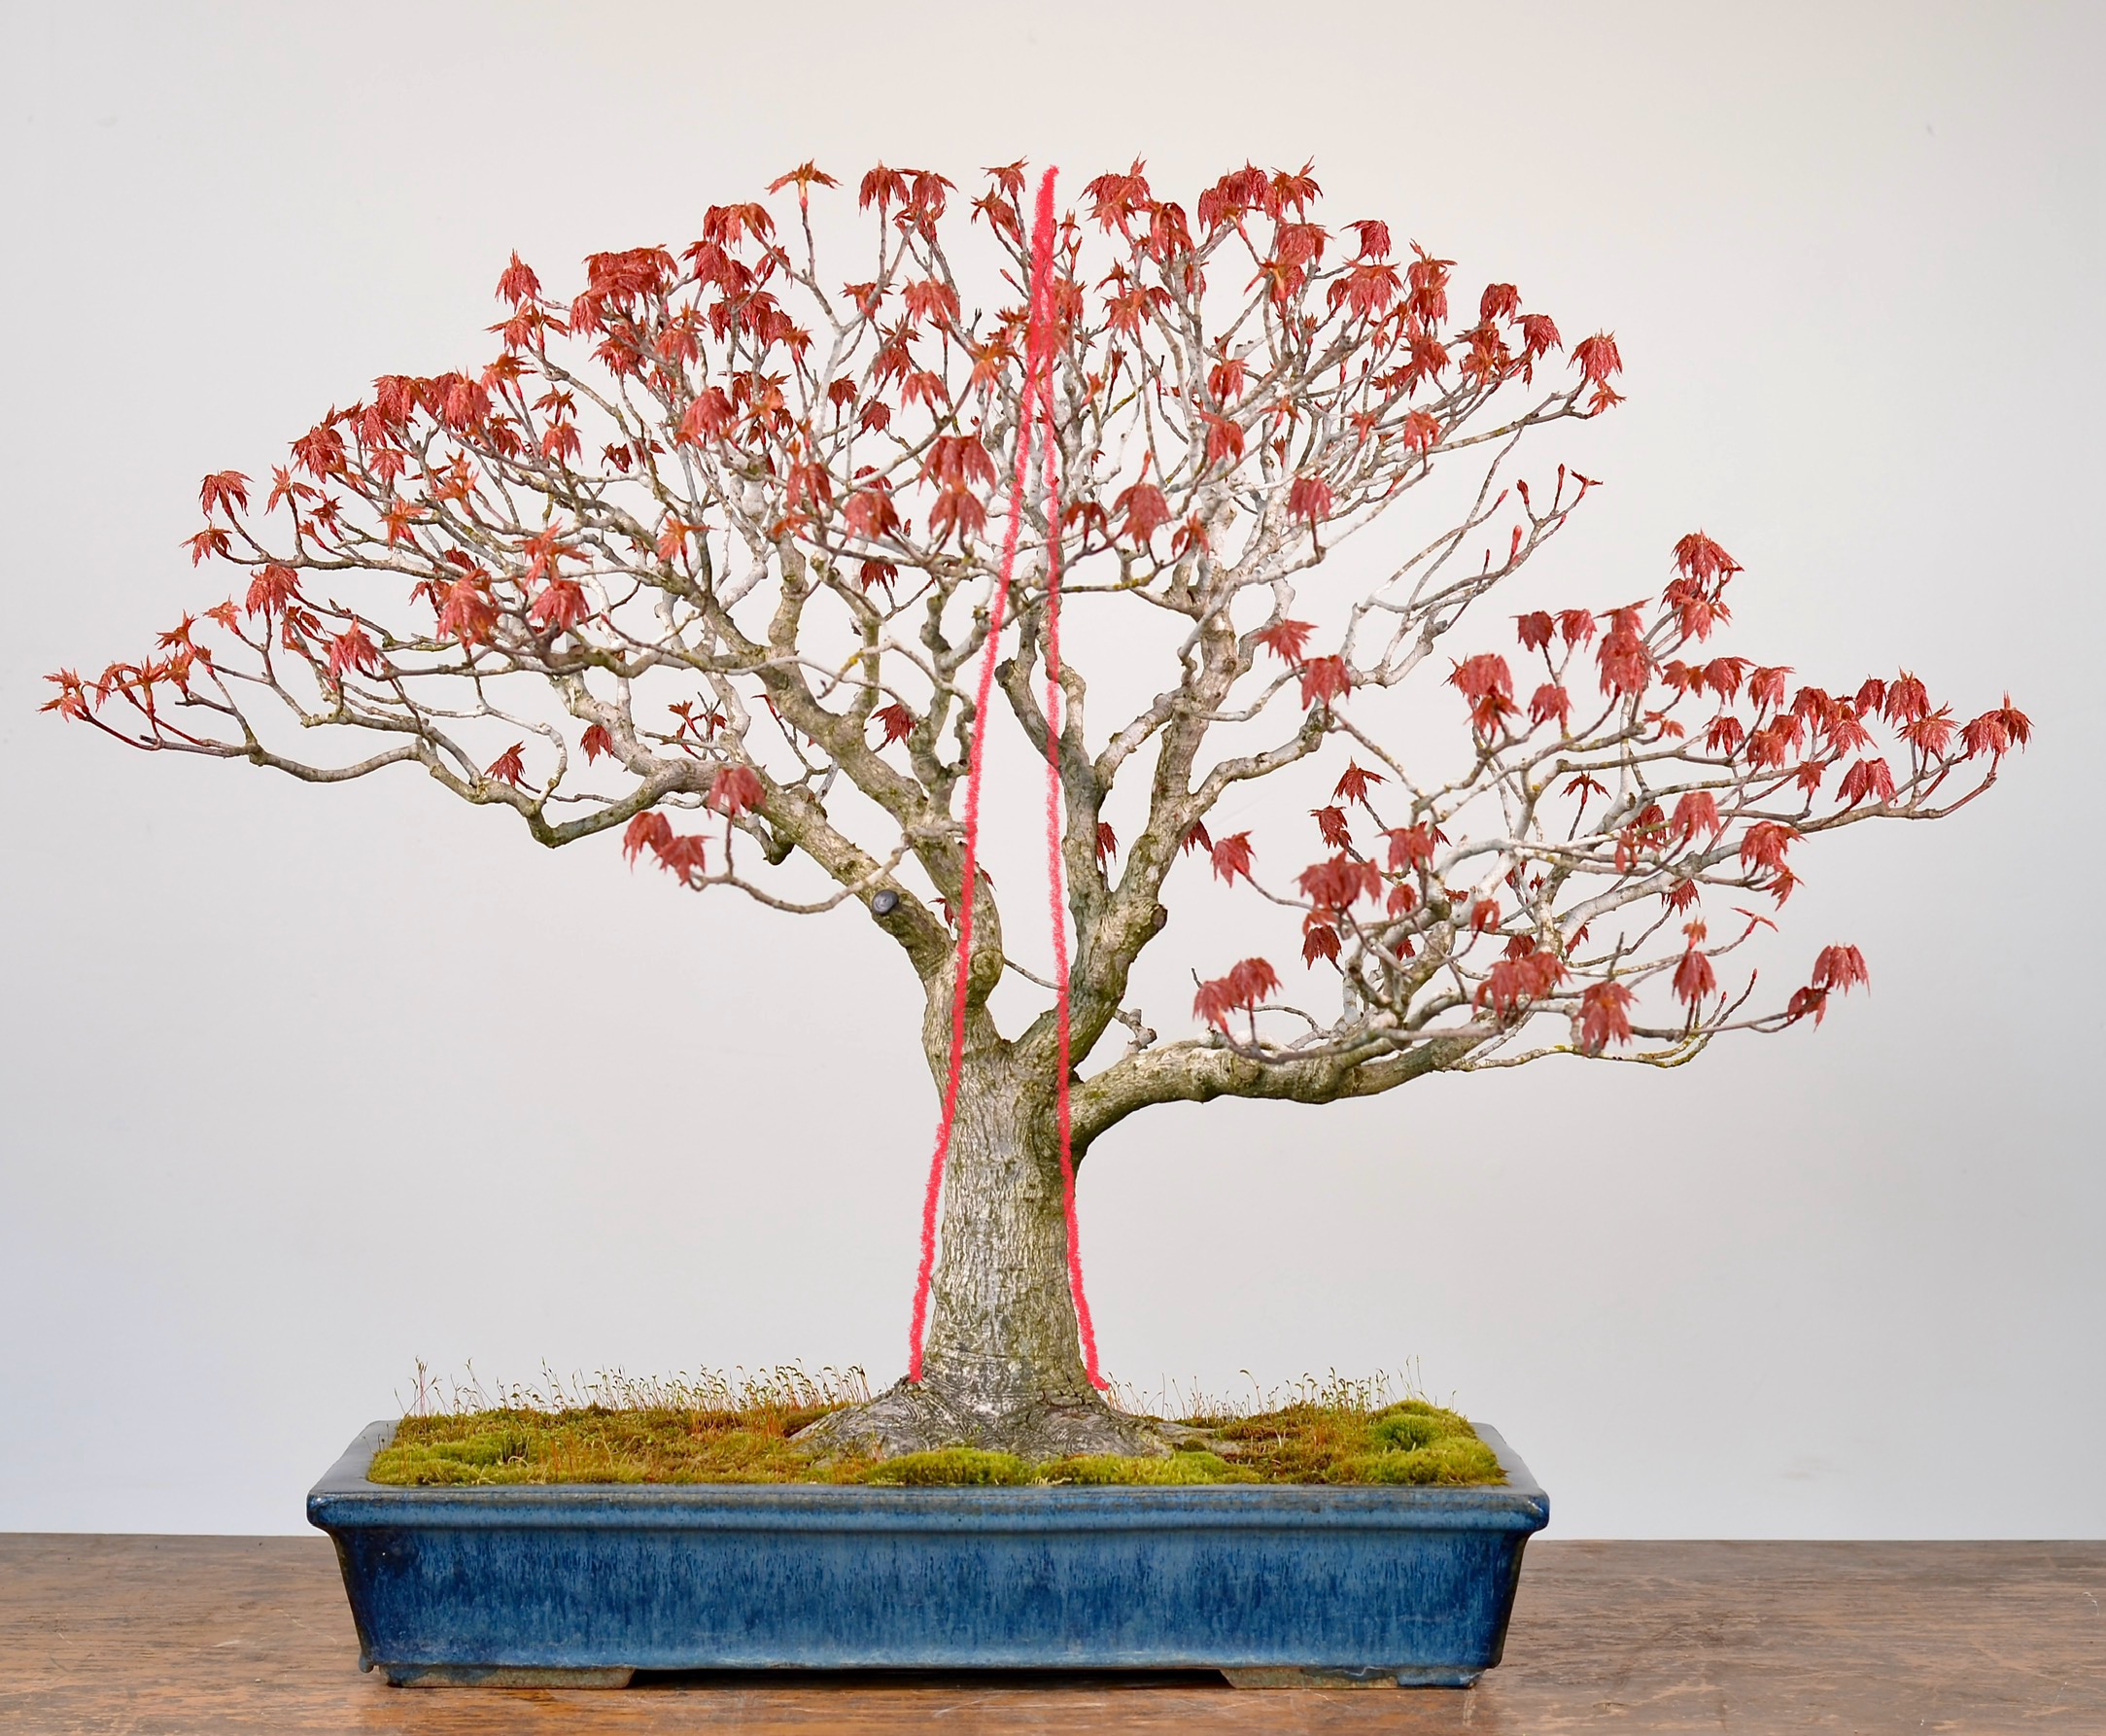
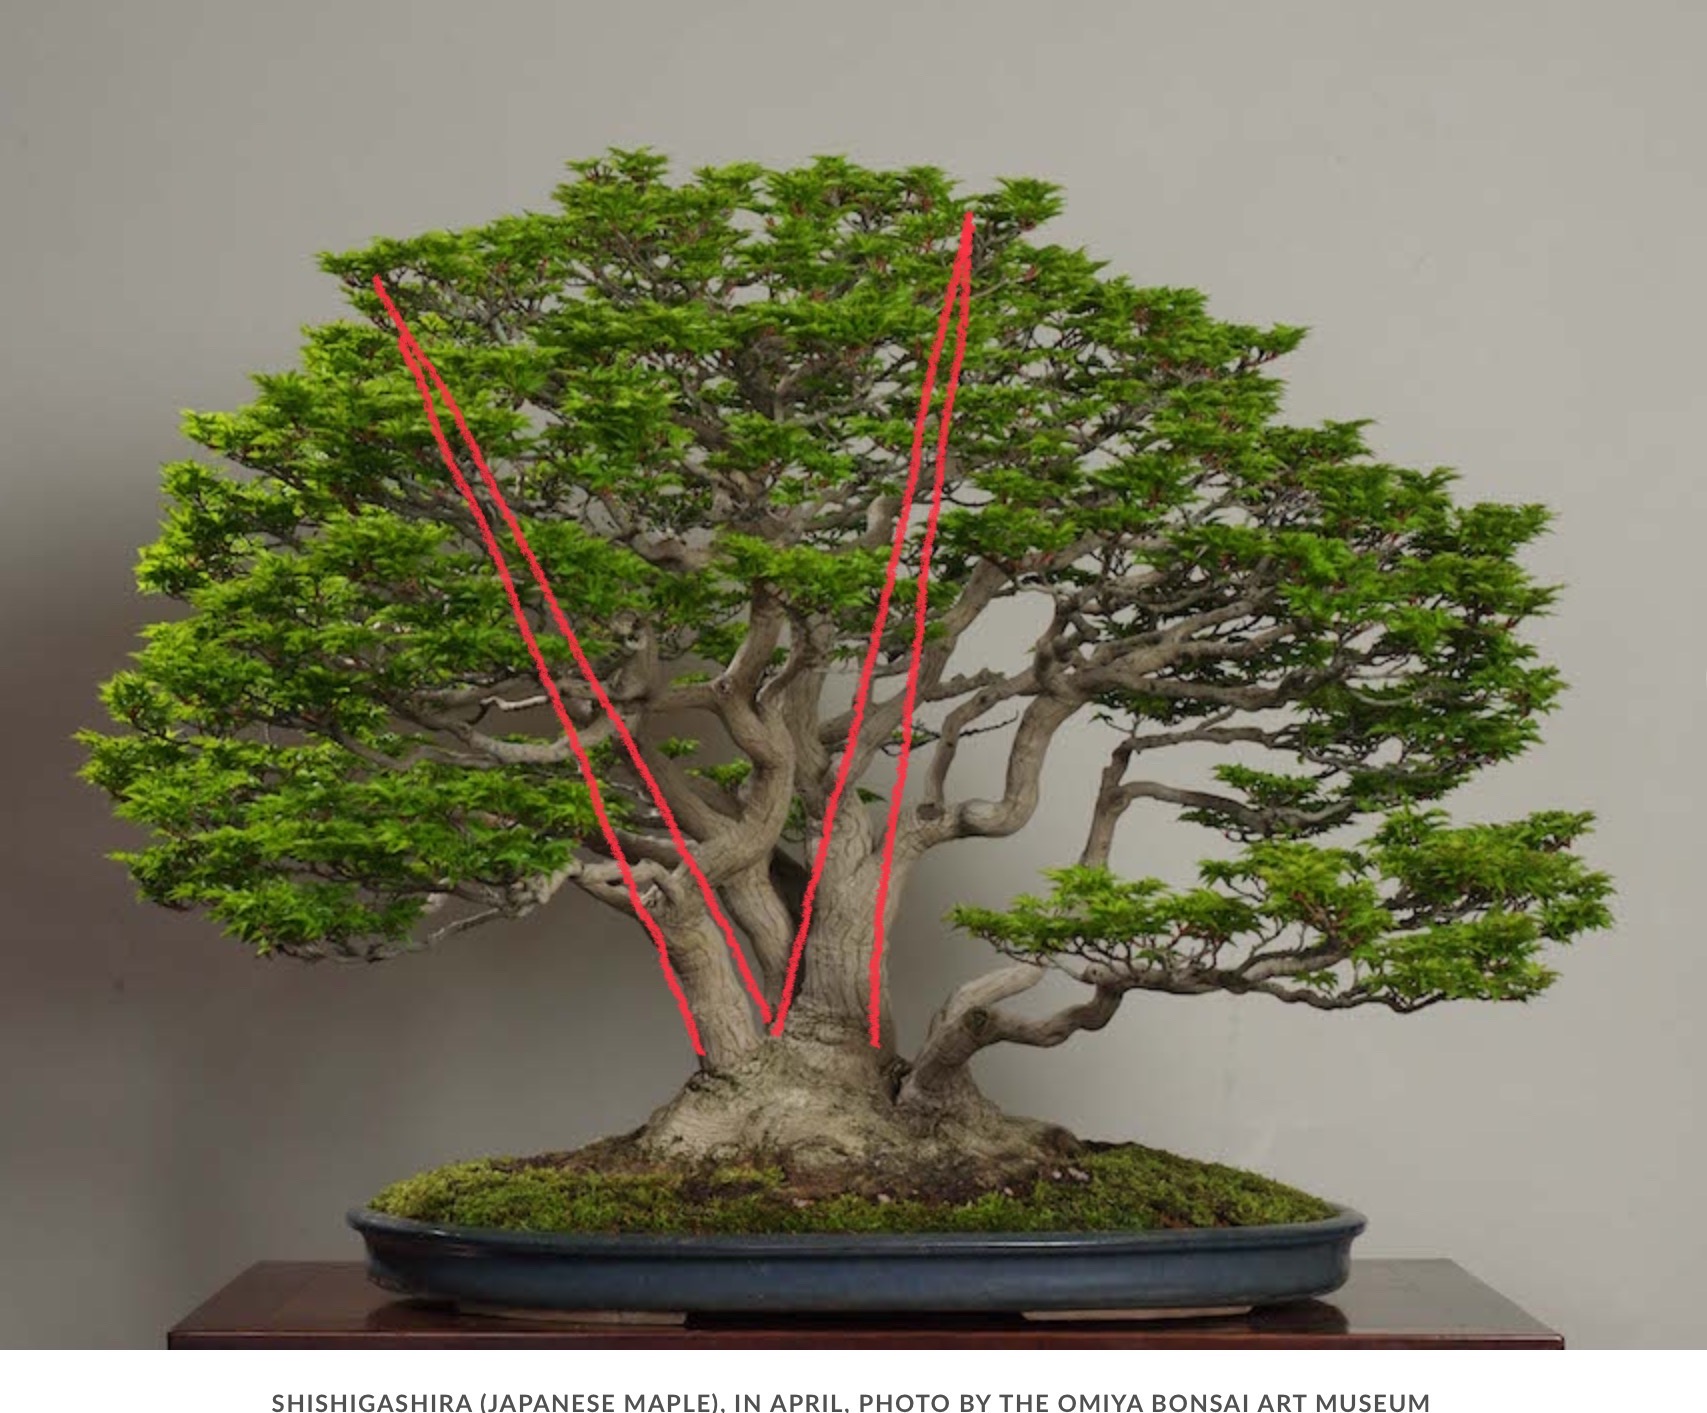
If you have a few bonsai plants of different species you will notice that some grow better than others under certain conditions. Some species are more sensitive to the mineral content of the water than others. Deciduous species tend to be more sensitive than conifers, with Maples being a common bonsai subject that is very sensitive to water chemistry.

These symptoms are among many others that may be indicative of water problems:

  • Stunted new growth, or new growth that starts normally but then withers and dies.
  • Margin burn on deciduous trees, particularly maples.
  • Chlorosis, or other nutrient deficiency symptoms; the presence of excess minerals can interfere with the plant absorbing other minerals.
  • General weakness and susceptibility to disease and insect attacks.
  • Buildup of white residue on the base of trees, or on the rims and sides of pots.

How to Research a Suspected Water Quality Problem

If you think you may have a water quality issue, there are a few simple steps that you can take to identify what the problem may be:

1. Talk to other local bonsai and plant growers that share the same water source and ask if they are having problems with growing certain species. Ask if they have identified problems with the water in the past and what solutions they use to get around the problems.

2. Use a TDS Meter to test the level of minerals in your water. TDS stands for total dissolved solids. TDS meters give you a reading that combines many different elements, such as Sodium, Calcium, and Potassium, etc. A general rule of thumb is that a TDS reading from 0-150ppm is usually fine for plants; 150-250ppm is not perfect, but most plants will still do fine; and 251 or higher ppm is an indication that many plants may struggle to grow in containers. Don't be fooled that lawns and trees in the ground are growing fine - the mineral content of the water has much less impact on roots growing in the ground than those growing in containers.

3. The US Federal government requires that municipalities publish an annual water quality report. The reports show the average and maximum contaminant levels of various elements and chemicals that can make people sick. Hidden within these reports are typically the details you need to determine if your tap water will make your plants happy, or less-than-happy. Use a search engine to look for "[YourCityName] Water Quality Report". In many cases these are PDF documents that you can find on the web. The report for Walla Walla, Washington in 2019 shows a TDS of around 50 - a good sign for people trying to grow carrots. Meanwhile, if you live in Albuquerque, New Mexico, you might shudder at the TDS reading of 280 and Sodium content of 31ppm!

Toxicity Threshold for A few Important Elements

Some plants can grow in salt water, but for us bonsai lovers, salty water is generally a bad thing. Here are some thresholds to avoid for growing tree species common for bonsai:

  • Calcium, also reported as "hardness" in some cases, is an element that plants do need a lot of, but in excess it causes problems with absorption of other key nutrients. If you see white residue on your plants around the base or on the leaves, you may have excess calcium, which is commonly referred to as "Hard Water". Calcium does not typically cause toxicity; it instead causes magnesium deficiency in some plants when it is present in excess.
  • Sodium concentrations in your water should be 10-15ppm maximum. The toxicity threshold for many plants is at 25ppm or higher, but build-up of this same mineral that you use to season food can be bad news for your bonsai. If your water contains 25ppm or higher, you should mitigate the problem quickly. 
  • Boron is among the most problematic elements for plants - they need it in concentrations of 0.7-2.0ppm, below 0.7ppm many plants struggle to absorb the element for their metabolic needs, while above 2.0ppm Boron causes toxicity in many plants. If you have high Boron you'll need to lower it to get good plant growth.

About "Water Softeners"

In many locations in the southwest United States it is common to use a "Water Softener" in your home to treat water for hardness. The problem that people are avoiding is calcium spots on their dishes and glass shower doors. To do this, a water softener injects sodium into the water, which raises the overall salt content, but prevents the calcium from depositing onto surfaces.

Because sodium at high concentrations is deadly to most bonsai species, this can be the cause of many heartaches.

DO NOT WATER BONSAI with water that has been treated with a water softener! The sodium content will kill almost all bonsai species (although we happen to know that Dwarf jade, aka portulacaria afra, can survive it for quite a while!) Keep in mind that even outside irrigation water may be routed through a water softener depending on how it was installed in your house.

Treating Water to Mitigate Problems

While something like a Brita filter will lower the TDS of water, it is not a solution that will lead to robust plant growth. Brita filters are at example of systems that use activated carbon - which is basically charcoal - to absorb some minerals. However these filters remove some elements and compounds more than others, and since they are designed for people, they are not particularly useful for improving bad water for plants. "Whole House Filters" are like giant Brita's and do little more than improve the taste of water in most cases; and in the worst cast, they act like water softeners.

Reverse Osmosis ("RO") filtration is used throughout the world to create potable water from ocean water, and you can use it to purify water with high TDS readings for use with bonsai. Despite a relatively high up-front cost, RO is a good solution for bonsai growers in many cases. Systems are available for garden use that cost only $200 and will purify hundreds of gallons per day. The down side of most RO systems is that they use the municipal pressure to drive the purification, leaving you with a container full of water that you'll either have to move by hand or buy a pump to use.

Finding a different source of water is another solution; rainwater is the most commonly tapped solution. Rainwater is very low in TDS, and tends to be more acidic than tap water, both of which is good for plants. Combining rainwater with tap water can extend the rainwater while also avoiding nutrient deficiencies that using rainwater alone can cause.

If you have to treat your water, keep in mind that RO and rainwater and other solutions that remove nearly all the trace minerals from a water source require that you re-introduce a good mix of minerals. Use a baseline nutrient like Cal-Mag solutions or total nutrient solutions like Dyna-Gro.

We have a short video available, Water for Bonsai 101: Adjusting pH where we explain water chemistry and how it can impact your bonsai trees. Watch the video if you'd like to learn how you can adjust your water pH for optimal bonsai tree health.

  •  

Four Ways to Get Closer to Nature Every Day

If you live in an urban environment, maintaining a connection to the natural world may not be as simple as walking out your front door. While city apartments and lofts are a great place to live, giving ready access to numerous urban amenities, they can also leave you short of space to satisfy your aspirations for a green thumb. Ingenious Instagramer's have taken to the task and excelled in the creation of indoor greenery that rivals or even beats the best-tended suburban gardens. Here are four simple ways you can stay connected to nature on the daily.

Use scents to evoke memories

Smell, whether indoors or outdoors can really bring you back to places, or improve your mood. When you're home, take off your mask and breath in the aromas from items like lavender- or botanical-scented candles to remind you of a visit to a lavender farm. 

Taking a friend for a Sunday morning hike

Hiking is a great way to experience nature, and whether you're on a back-alley mural tour or a forest hike, getting outdoors will bring you closer to nature. Bring along a friend for conversation and to help you spot things you may have missed otherwise, make it a regular day of the week to keep each other accountable and get high-quality personal interaction. 

Cultivate your relationship with plants - like Bonsai!

In a London study researchers found that proximity to trees was associated with reduced rates of anti-depressant prescriptions; in other words, more trees = less depression. Bonsai are small and easier to control than street trees; think about how to create a relationship with trees through a few small potted specimens in your yard, on your balcony, or near a bright window indoors. 

Create a space full of greenery

Who doesn't like those photos of apartments filled with plants? Or maybe you already have a space filled with greenery and just need some more variety in size and shapes. 

  •  

When a Bonsai Tree Dies

It’s an emotional blow to lose a bonsai. Even seasoned growers will experience tree death. It's reality; everyone loses bonsai trees. I've had rough experiences, and the thing that helps me recover whenever I lose a tree is trying to analyze the cause so that I can learn and not repeat the conditions that lead to the trees' untimely demise.

In "The Tipping Point", author Malcolm Gladwell discusses the circumstances that normally surround airplane accidents. He summarized from numerous investigations into accidents that in almost all cases there was no single factor that lead to the accident. Instead it was a series of mis-steps, each unto themselves relatively harmless, that when combined lead to airplanes hitting runways and plunging into oceans.

This is a good analogy for the cause of bonsai death. While it’s possible that you can go on vacation and your tree dies because your neighbor forgot to water it, it’s also possible that your tree can die after a series of decisions to either do something or do nothing in an attempt to help the tree. There are numerous factors that can lead to the death of a tree - watering, fertilizer, pest control, and sun protection are among the things that if not executed properly will lead to problems.


Lesson learned from this Douglas Fir – don’t do work before a tree has shown you it is ready. This collected tree should have been left alone for another couple years before work.

A few years ago I experienced one of my most painful series of tree deaths. I surmised that the following series of steps, events, and mis-steps lead to the trees' demise:

  1. Summer application of a strong dilution of chemical fertilizer caused some damage to the root structure and needles. This was apparent on the foliage where some browned tips showed. (definitely a mistake!)
  2. During repotting the trees appeared to be weak, so light repotting was done to refresh the soil and allow for new room for growth (seems like the right step…but maybe not, maybe would have been better to leave them alone!)
  3. Trees budded out weakly – perhaps due to repotting or due to burn in prior summer or both (cautious optimism…)
  4. Light fertilizer and careful watering to try to nurse the trees back to health (continued optimism…)
  5. Heat wave in September – no protection provided for the all-time record temperature in San Francisco (Uh oh!)
  6. Tree is unable to cope in weakened condition and browns a few weeks later (😭)

I've learned a lot since this experience, and from many other tree-death and near-tree-death experiences. These learnings and many others have been incorporated into our mindful bonsai practice, which we've documented in our Establishing a Mindful Bonsai Practice series. Give it a read. And give yourself grace next time a tree dies; analyze what went wrong; and commit to doing things differently going forward.

  •  

How To Decide The Height Of A Bonsai

A reader asked for an explanation of this sentence from a previous post

“With any tree, thick trunk or thin, follow the taper of the trunk and where the two lines of the sides meet, that’s roughly where your tree should end.“

I admit that wasn’t easy to follow. I often say something like that while teaching, in front of a tree, where it might make more sense. Hopefully the following images will explain this rough guideline.

This elm is by Michael Roberts. It’s a great example of the utility of the guideline. If you take the taper of the lower trunk and follow that up, where the two lines meet is about where we should find the top of the bonsai. 

Another pretty clear example, a Red Maple by Anne Spencer. 

Here’s a multiple trunked Japanese Maple. With any of the trunks here, the lines from the lower trunk taper should still meet at the canopy periphery. Note that nebari flare is ignored in this guideline.

The lines of this Satsuki intersect lower than the current crown, so this tree would benefit by being a few inches shorter. Which the last few snips should do.

Let’s end with a couple trees where this guideline is nonsensical. The number of reverse tapers on this tree can make you dizzy, and yet it won a Prime Minister’s Award for my teacher Mr. Suzuki. The lines from the lower trunk widen—the opposite of assumed bonsai design—and then contract again near the foliage. 

Another tree where the guideline is silly, a tree with no taper whatsoever. It was topped off at 14” which was based more on the desire for compaction and available branches to frame the shari. An example of how a guideline can in real world situations be limited to the point of being useless. Though with other trees, particularly those that fit inside the traditional framework, this guideline can have modest utility. 

  •