Still building a ficus
Today, we have a ficus microcarpa (for those who have searched through the posts, in the far past I’ve called this species ficus retusa, incorrectly. Instead of going back and fixing them all, just keep in mind that Ficus retusa is a totally different species of fig, and take it for the ever changing nomenclature that is being updated. My apologies for any confusion). It belongs to Kathrin. I had done a demo for the Shofu Bonsai Society of Sarasota many years ago, and she won it in the raffle. You’ve seen it before, in the link below.

I had meant to update this tree several times in the past few months, but didn’t get to it. Here it was in October 2021.

And, as it was in the original post:
https://adamaskwhy.com/2020/10/14/building-a-ficus-microcarpa-bonsai/
I’ll wait as you step into the Way-Back Machine and travel back in time.
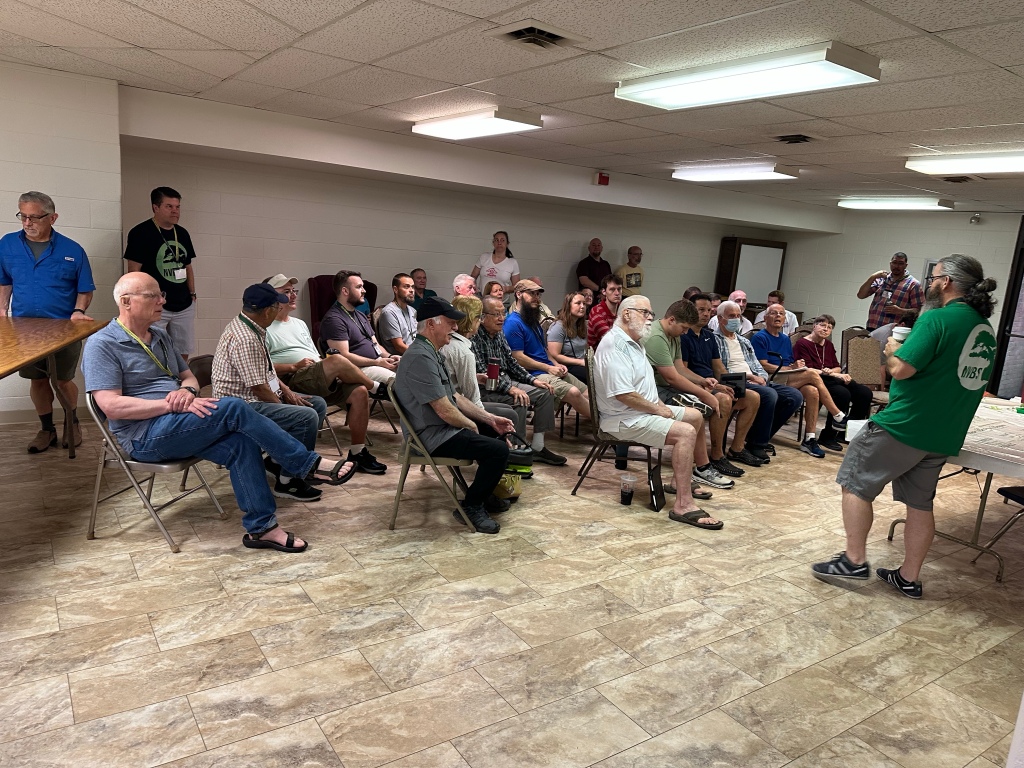
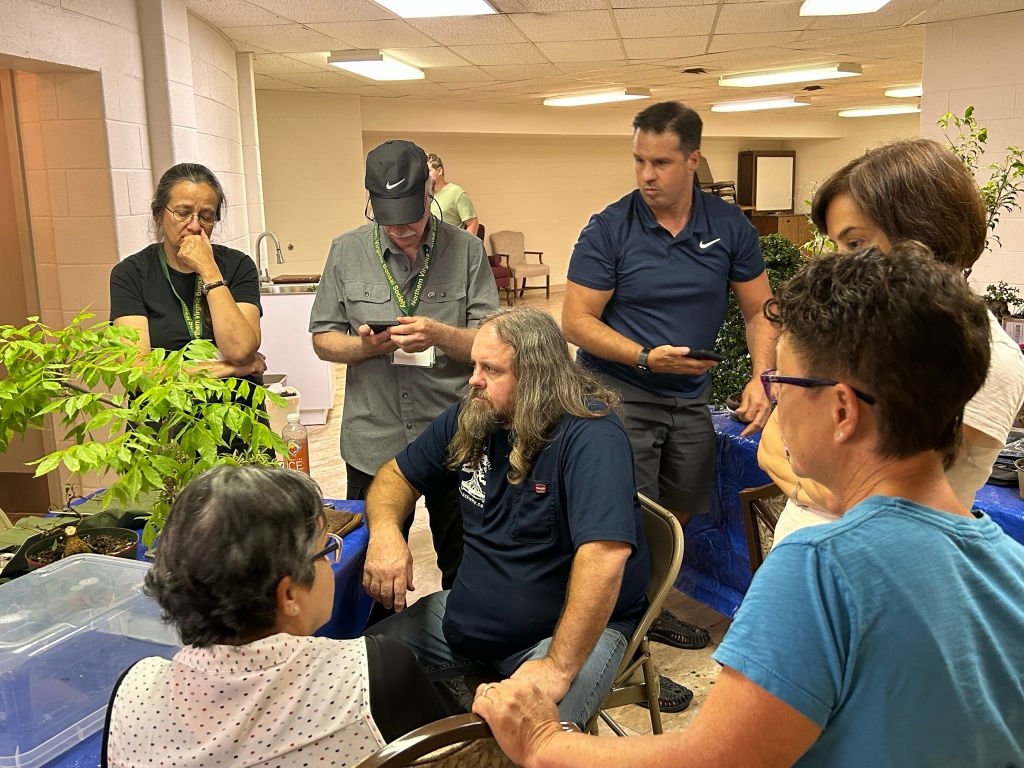
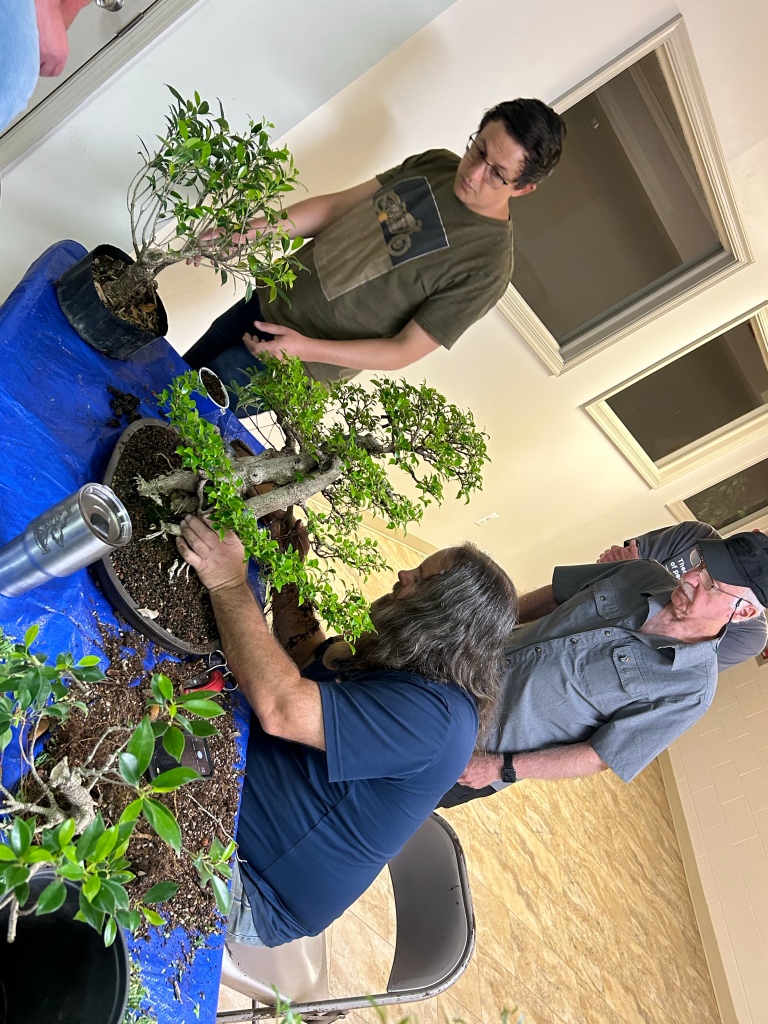
And, still in the past, the work we did at Kathrin’s garage, in my Sarasota Studygroup in October.

Then we went, the next day, into Wil’s garage.

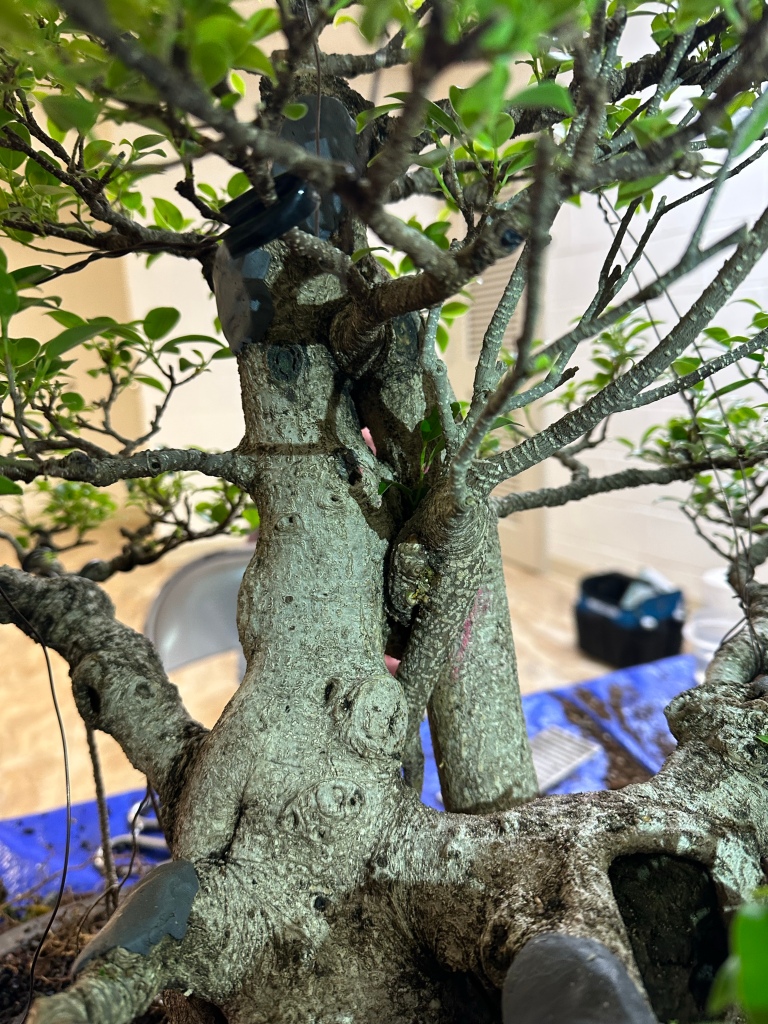
First, we get rid of the Corona bottle cap I was using to hold a graft in place.

It worked pretty well, and played into my gallows-type humor at the time.

The graft took well on the main trunk.

But up top, we had trouble getting that branch to stick.

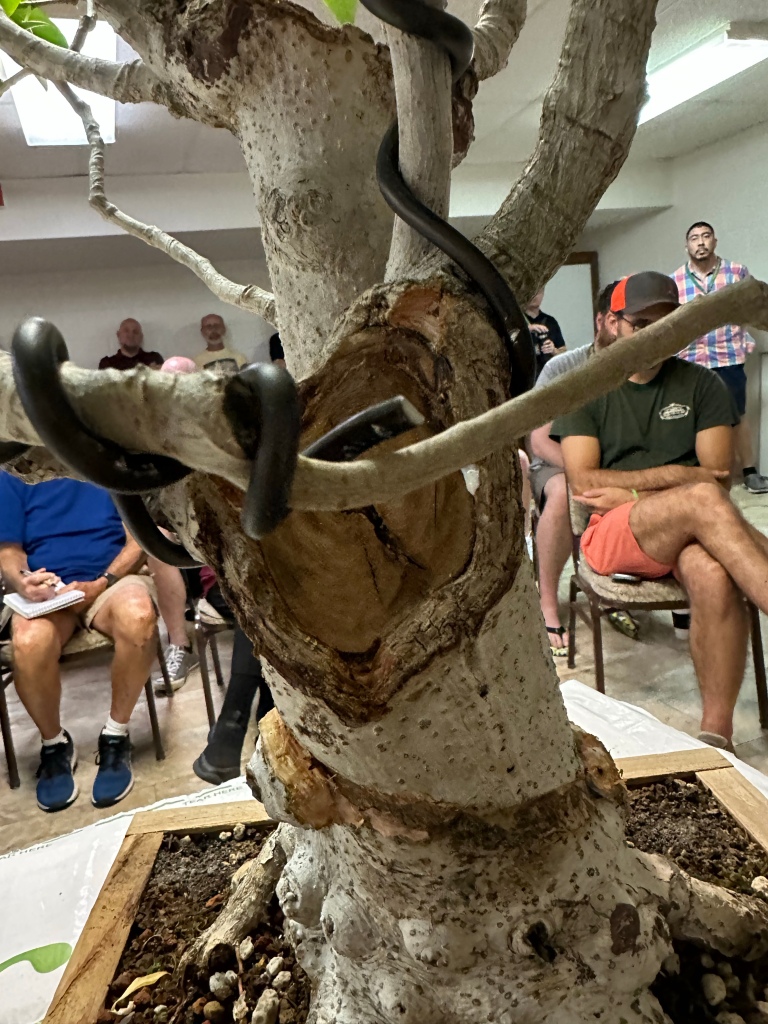
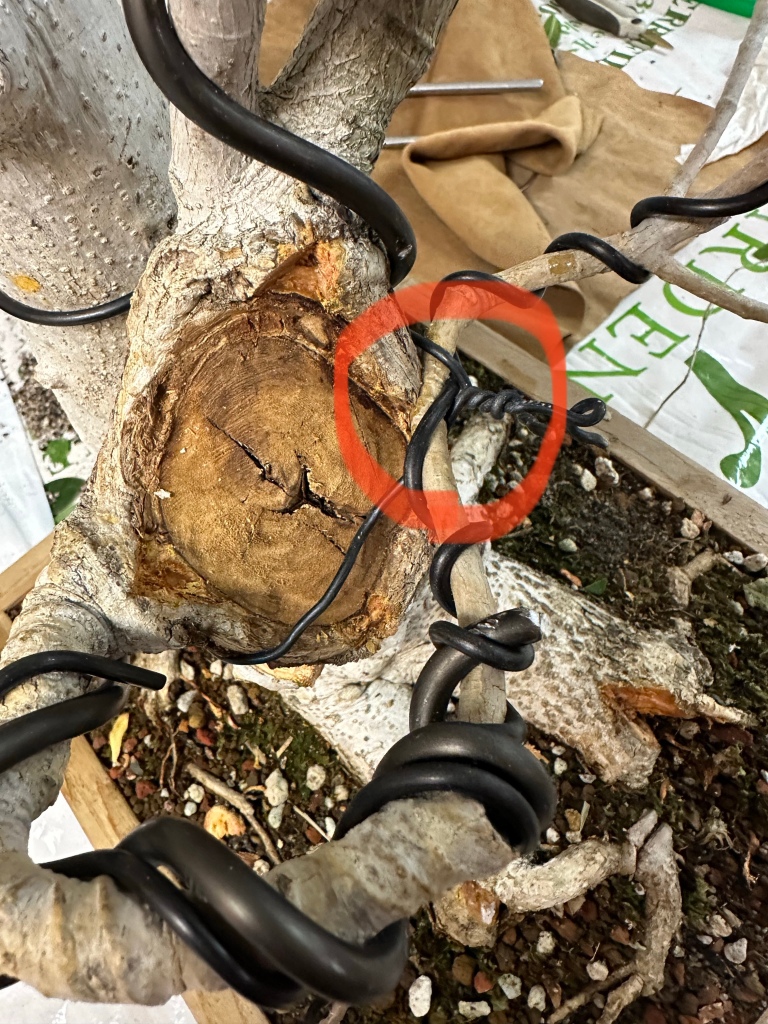
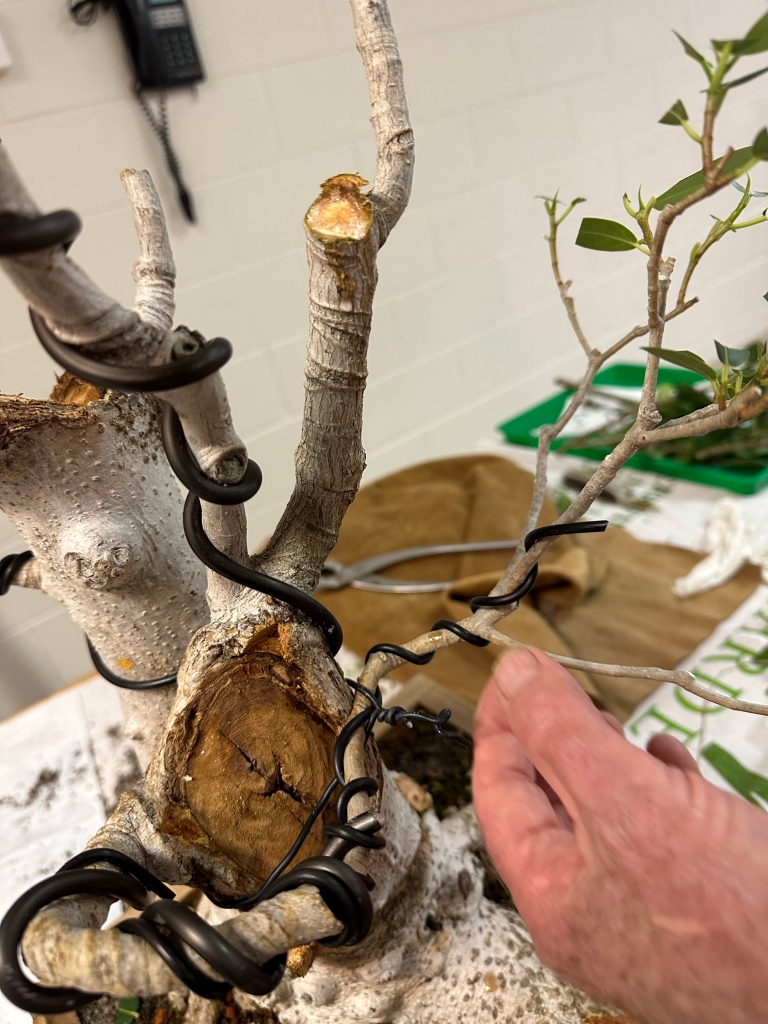
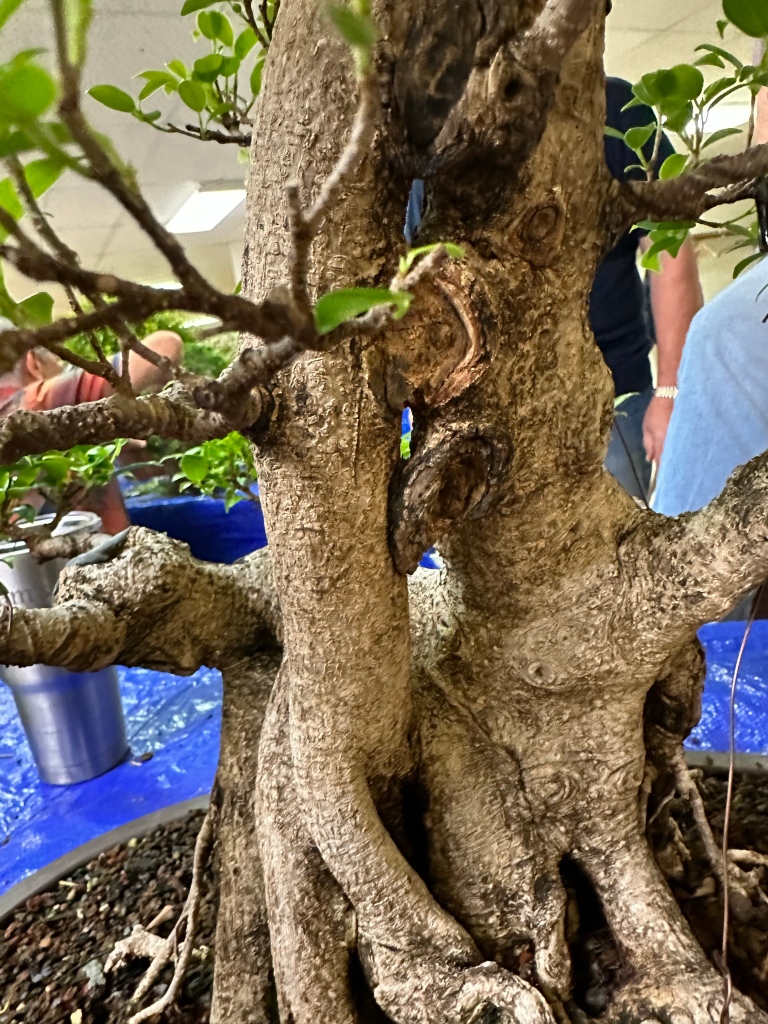
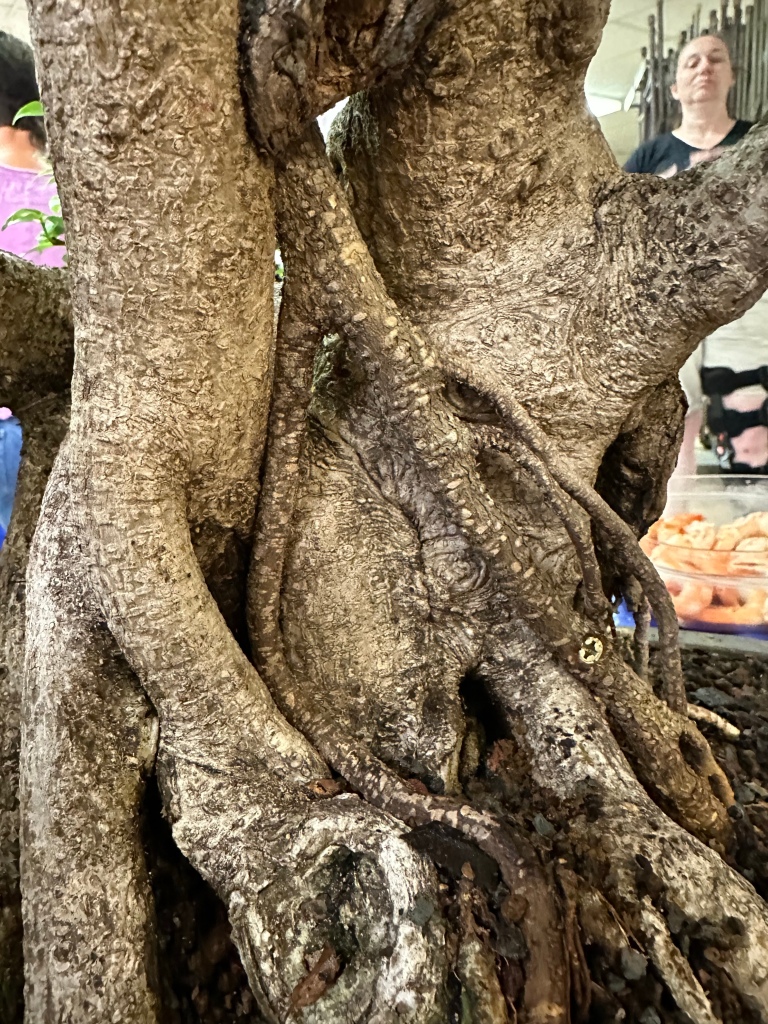
Take notice of the hole that was created from the branch, where the black wire is.

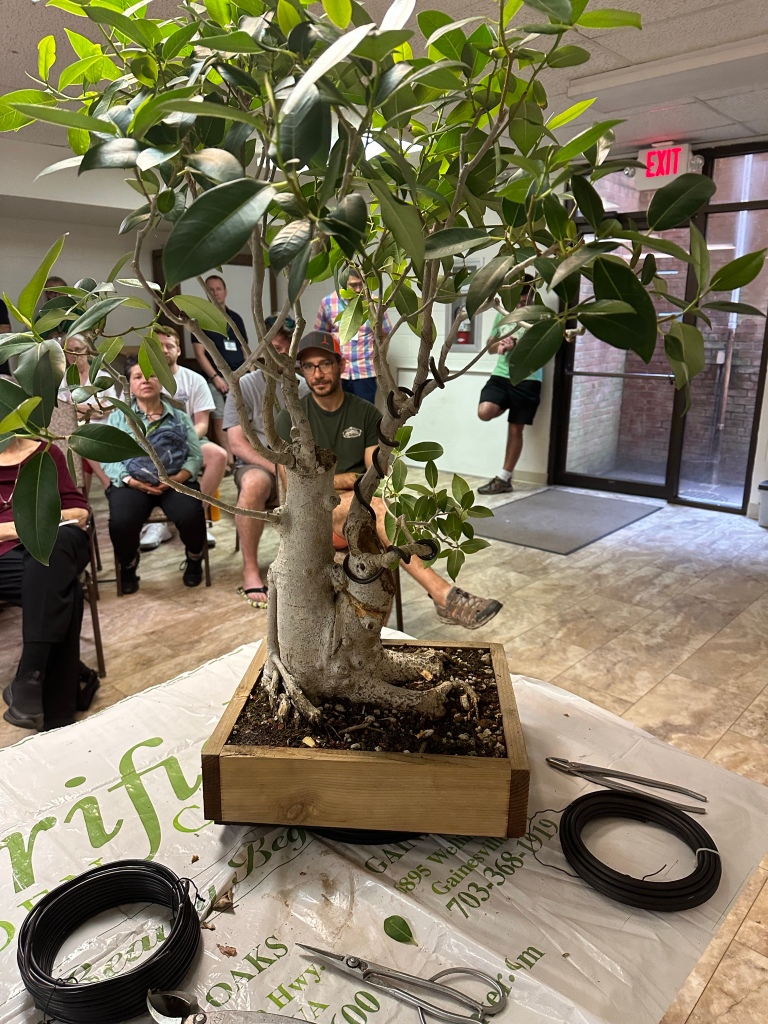
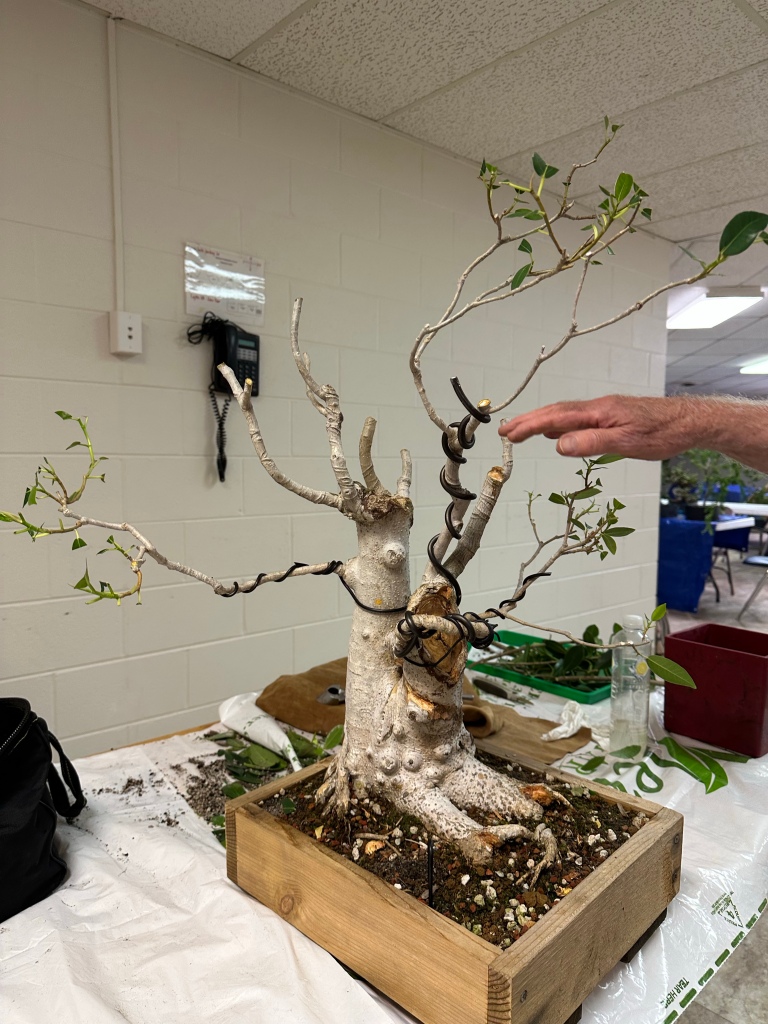
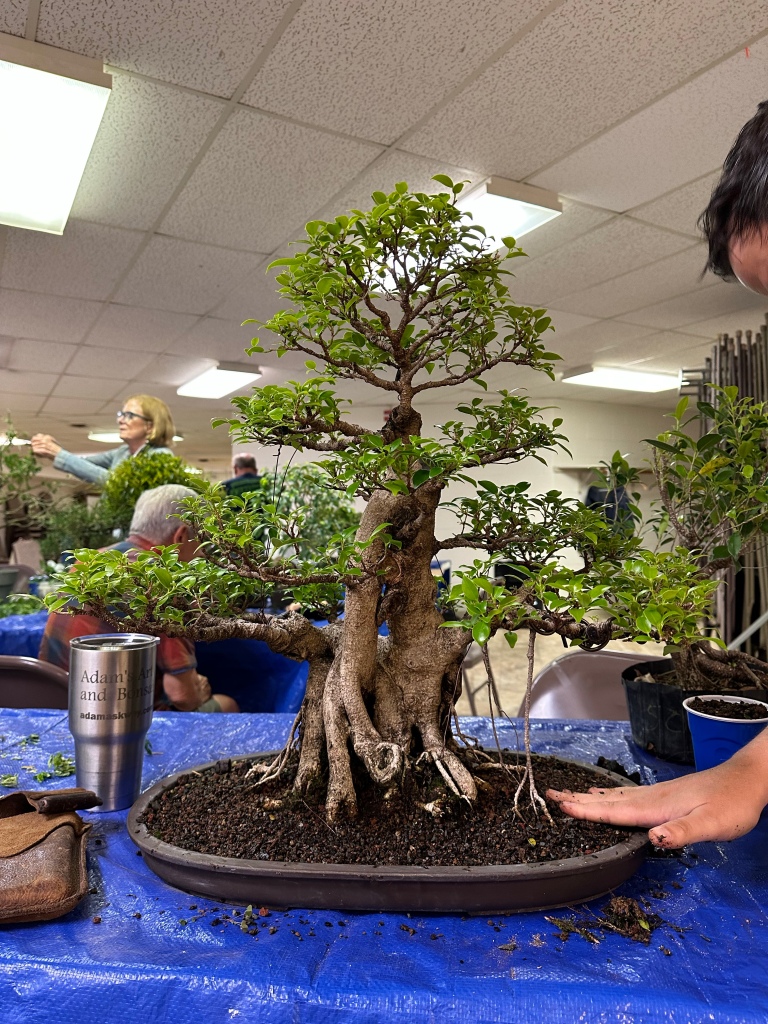
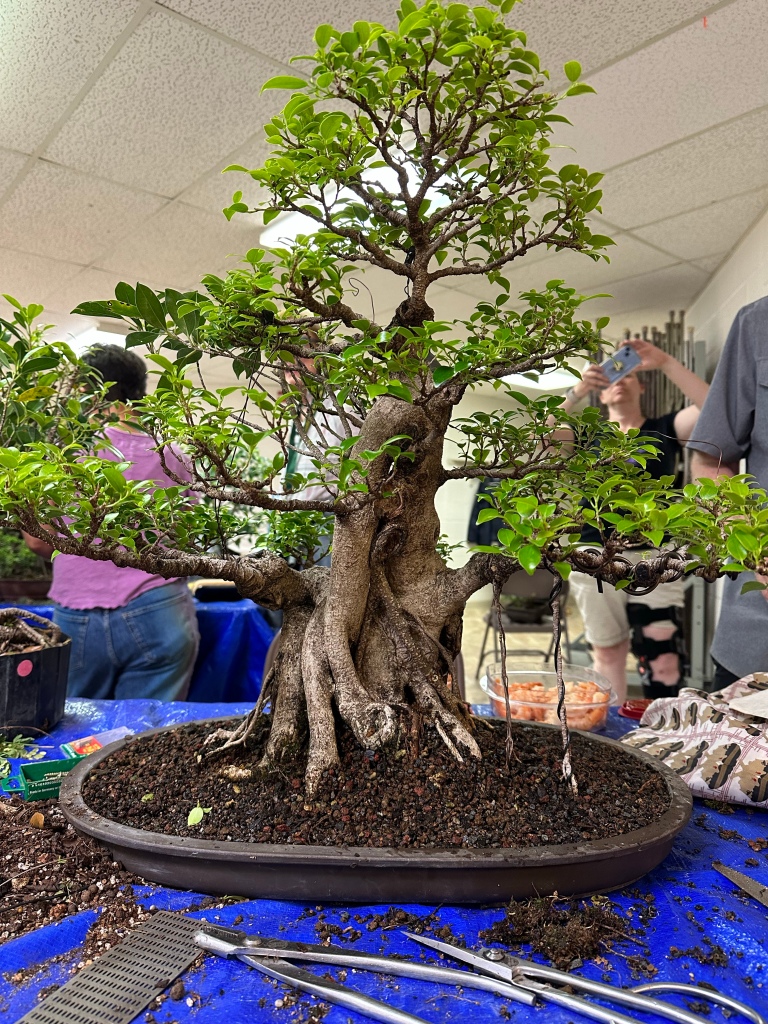
Now, back to today. Late July/early August, 2022.

I’ve had it here in Orlando for a few months. The idea was for me to bring it back the next month, but life got in the way. A few too many client’s trees to work on and a brief hospital stay made the tree sit on my bench and just grow. But sometimes that’s a good thing. It gives us something to work with. and it seems to like my yard.

The water at my nursery is good compared to Sarasota (it has to do with how we get our water in Orlando. This Post about cleaning calcium off a pot explains it a bit more)
If you compare the below pics with the older ones, you can really see how much the branches have thickened, and how we tied that one branch that refused to graft in place.

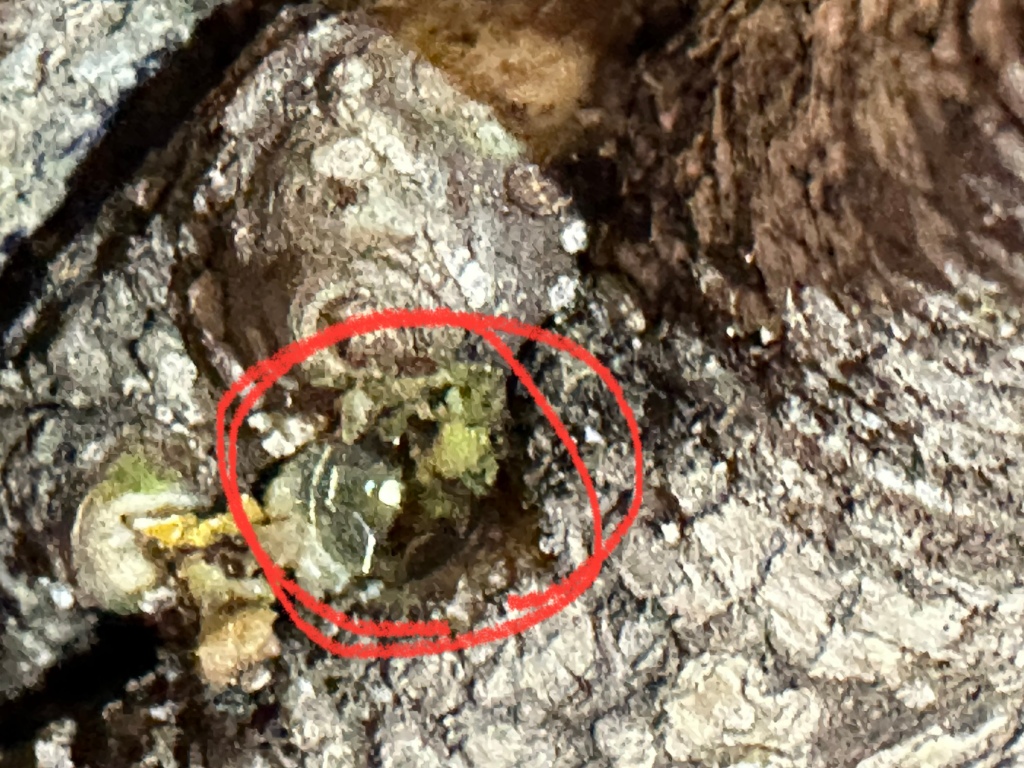
It’s finally taken, so now it’s time to remove the wire.

You can definitely see where the two trees are grafted on, but that’s ok, it’ll smooth itself out in time.

And somehow that one aerial root we pinned into the hole got pushed out.

Anyway, enough backstory, let’s get to work.

Remove the wire.

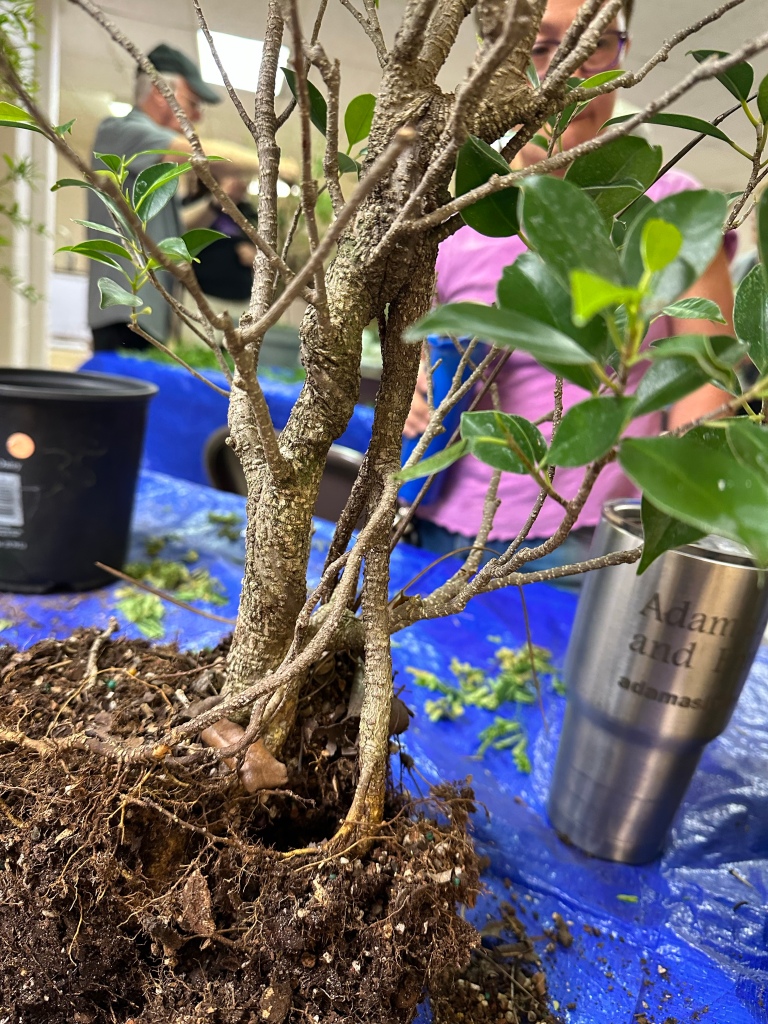
Not too badly scarred. And those wire scars on the branches are easily dealt with. You can literally shave them down and they disappear quickly.

That hole I pointed out above is just about filled in. That’s the advantage of unrestricted growth.

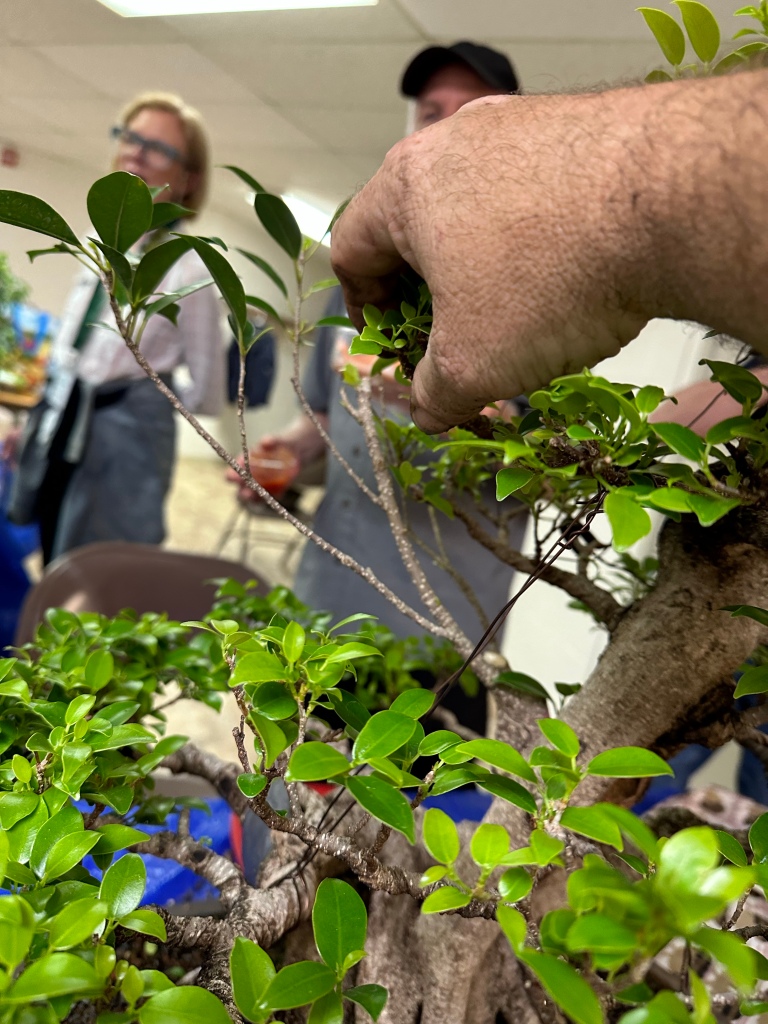
Now to defoliate.

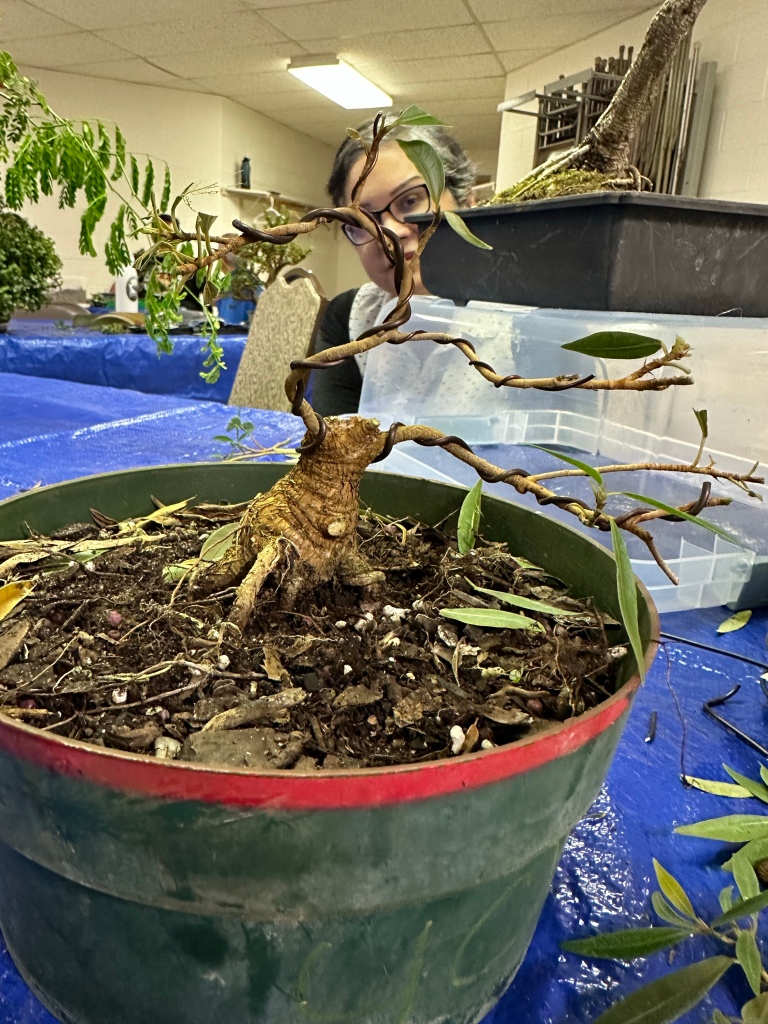
There we go, we can see what we have to work with. Which is a lot.

We got lucky with the longer branches just happening to grow just where we need them.

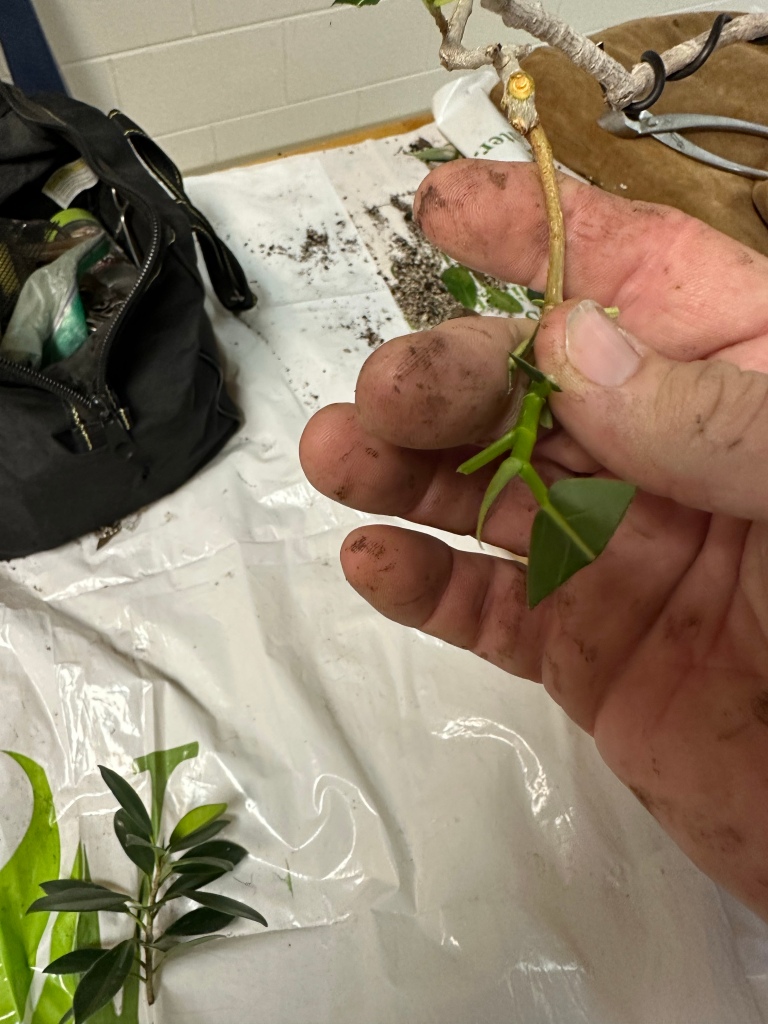
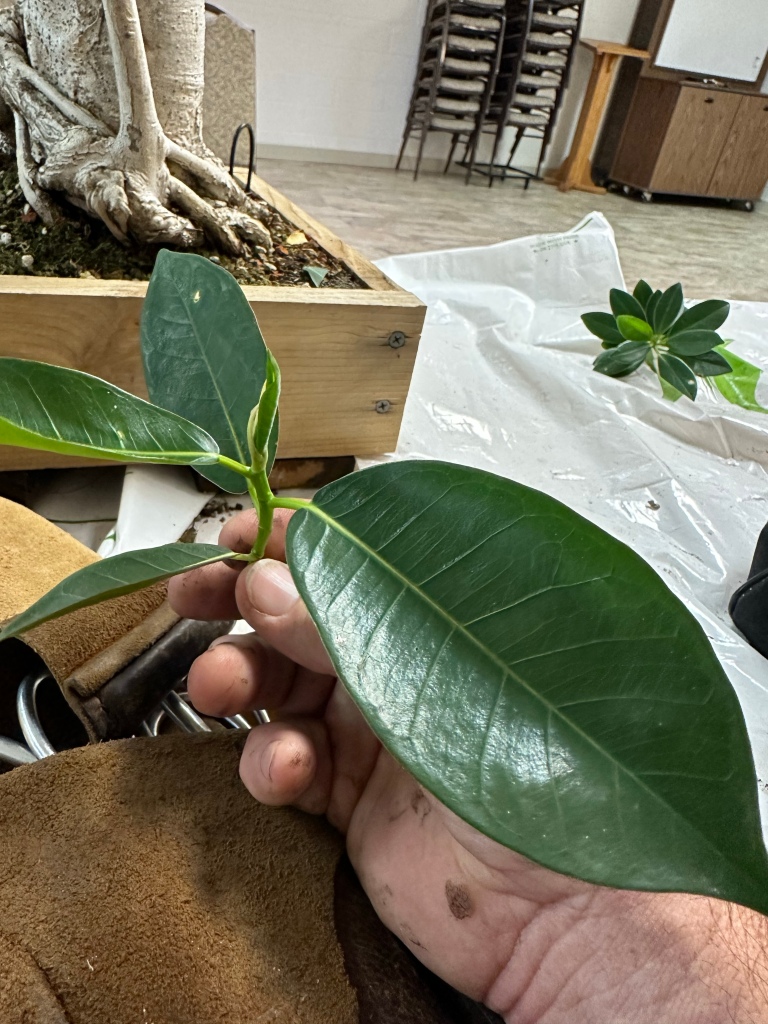
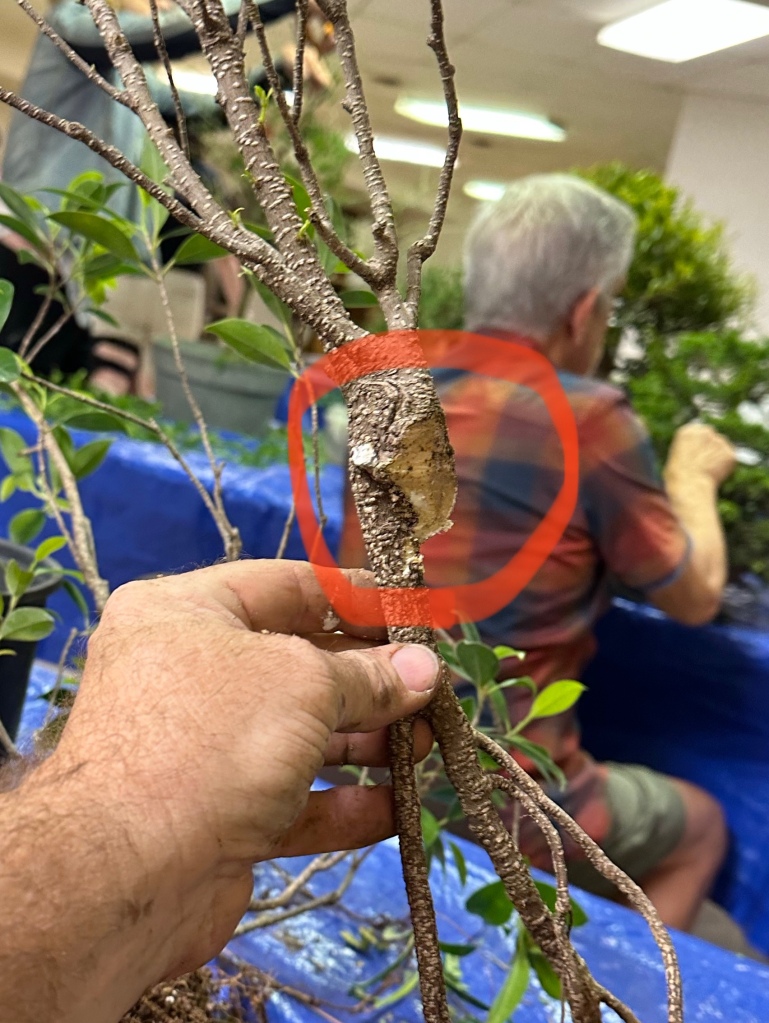
This one is perfect for grafting; strong growth and fresh bark.

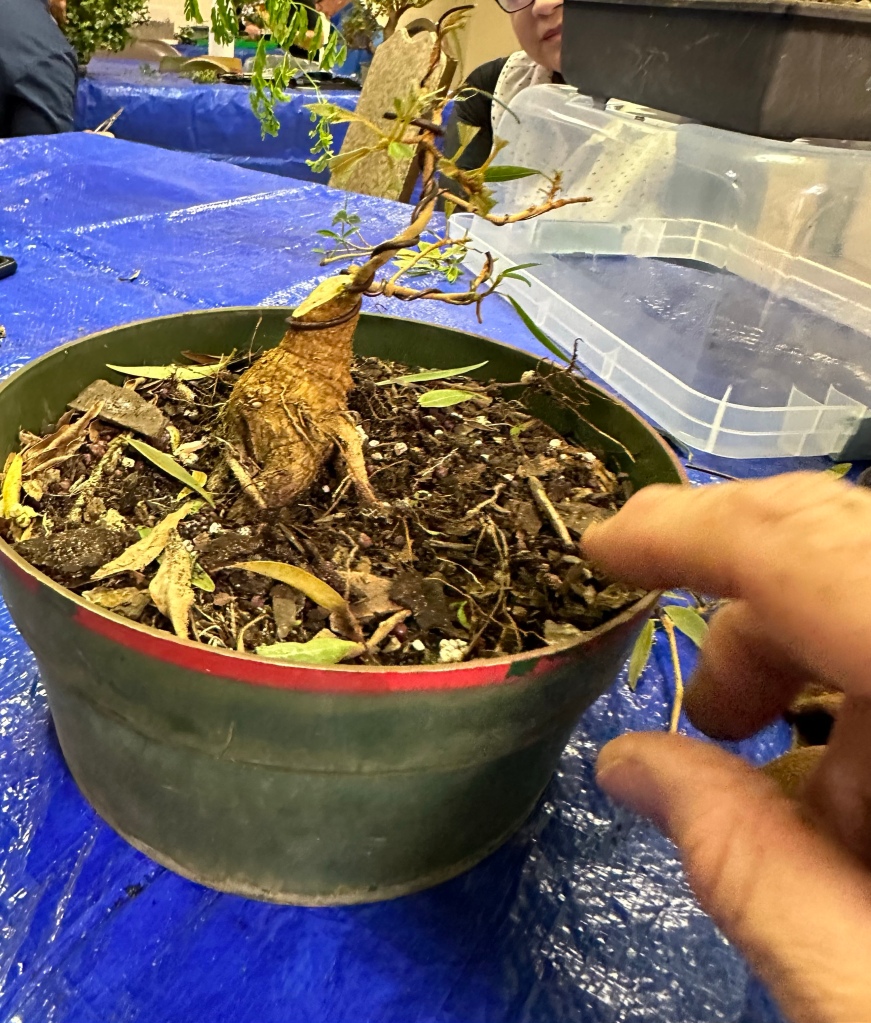
It’s gonna go about here, to fill in that empty spot. Now, to explain why we need grafting on a ficus like this: this is the plain Jane, regular old Ficus microcarpa, not one of the many cultivars. Which means that it doesn’t back bud as readily as one would like. In fact, it’s more prone to die back to the next node, or grow point.
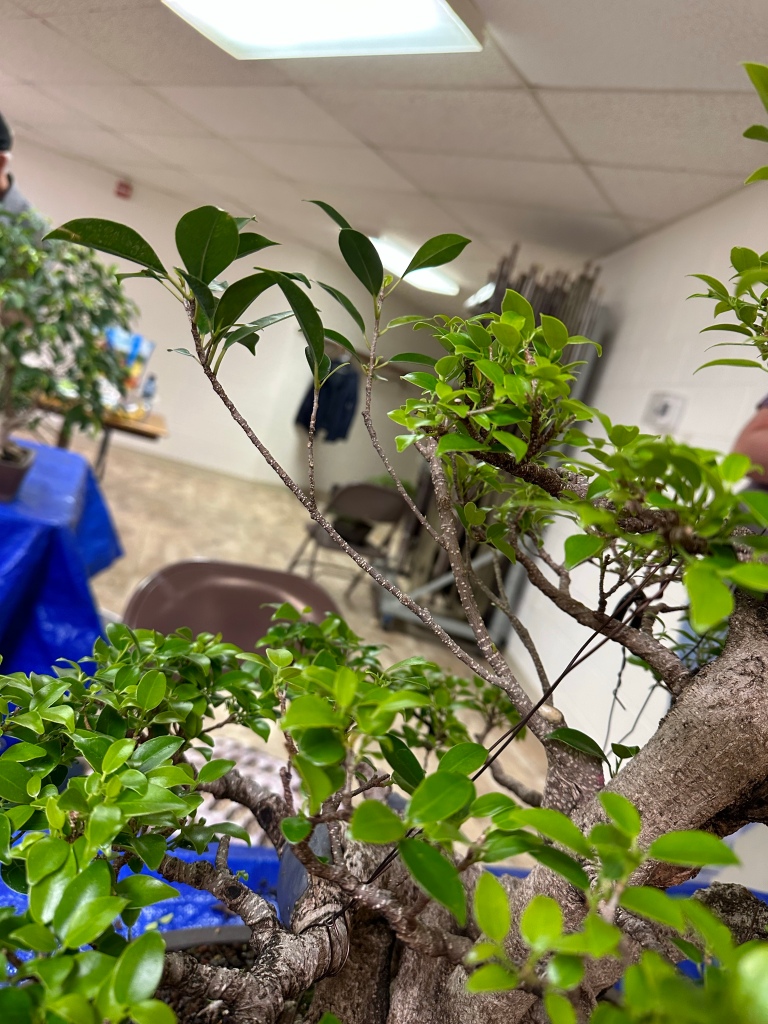
The branch just above my pointer finger has been grafted on, and the next one above it as well.

After grafting, here’s the new pot. I debated for about ten minutes whether I should repot or do the top work first. Top work won out. The debate was whether the repot would be to strenuous on the grafts. But I figure I can be gentle.

Grafting time.

A freshly sharpened knife.

And…..here we go!

Grafting is easier than you might think. Simply cut a gouge into the the bark.

Doesn’t even need to be that big.

See?

Grab some type of grafting tape. In this case I’m using “self-amalgamating electrical tape”. I’ve come to use this because it only sticks to itself (self-amalgamating) and doesn’t damage the trees bark when you take it off. The point of the tape is to keep water out. In the past they’ve used beeswax, floral tape, vet wrap, even just cut paste.

Cut a piece..

Remove the backer piece…

Scrape the branch you are grafting, place it, and stretch the tape (it’s rubber), and wrap it tightly. I then like to use wire to hold it down as well.

And make sure the wire is tight. That holds the two pieces together. As the cuts heal, they want to pull away, so I’ve found that wire holds it in place nicely (like we did above on that recalcitrant branch).

On the side that’s holding the graft, two loops hold it down better than one.

Now for one more graft. Same process: cut a wedge…

Scrape the bark on the branch…

Apply the tape, add the wire…

Crank it down.
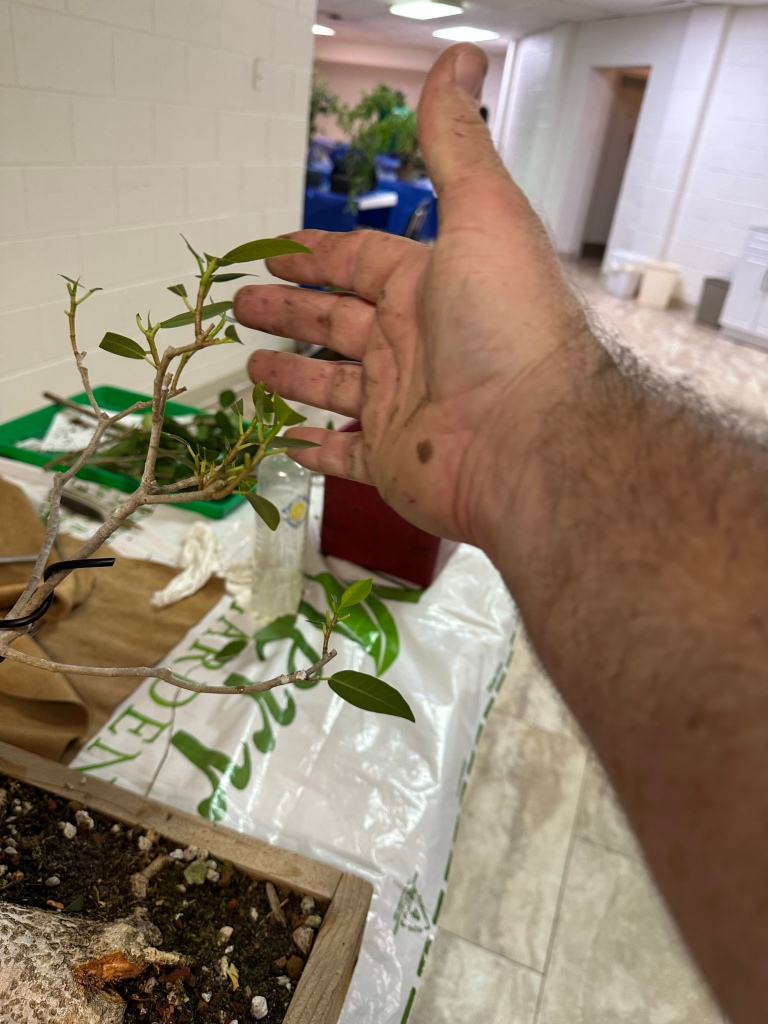
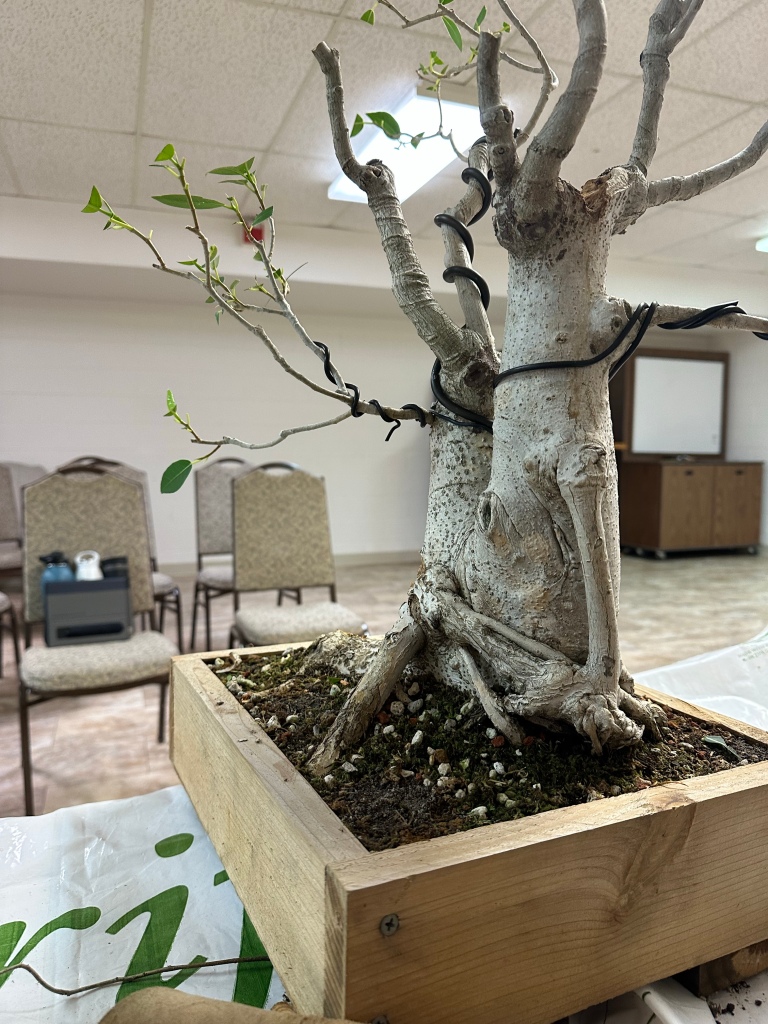
I was going to wire this tree out but I think I’ll just prune for movement and taper. Making sure to leave an active node so we diminish dieback.

All done with that.

One last thing before I repot, I’m going to smooth out this scar.

I start with a knob cutter…

Then clean it with my knife.

It’ll take a bit to heal, but it should heal.

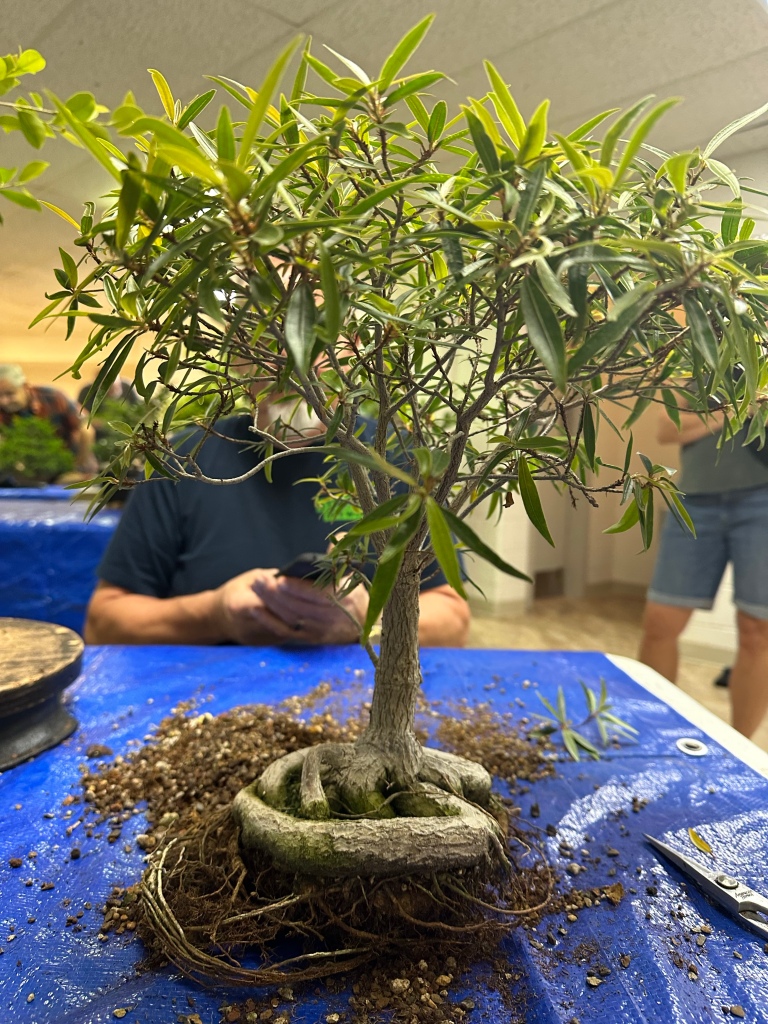
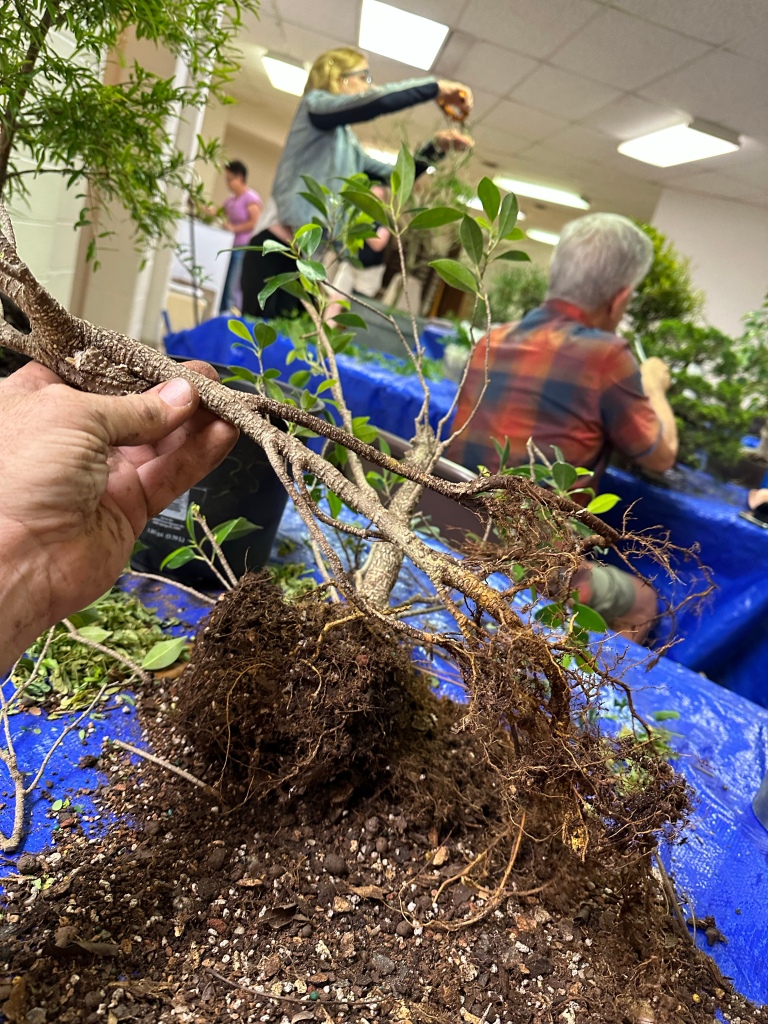
Now it’s time to repot.

It definitely needs it.

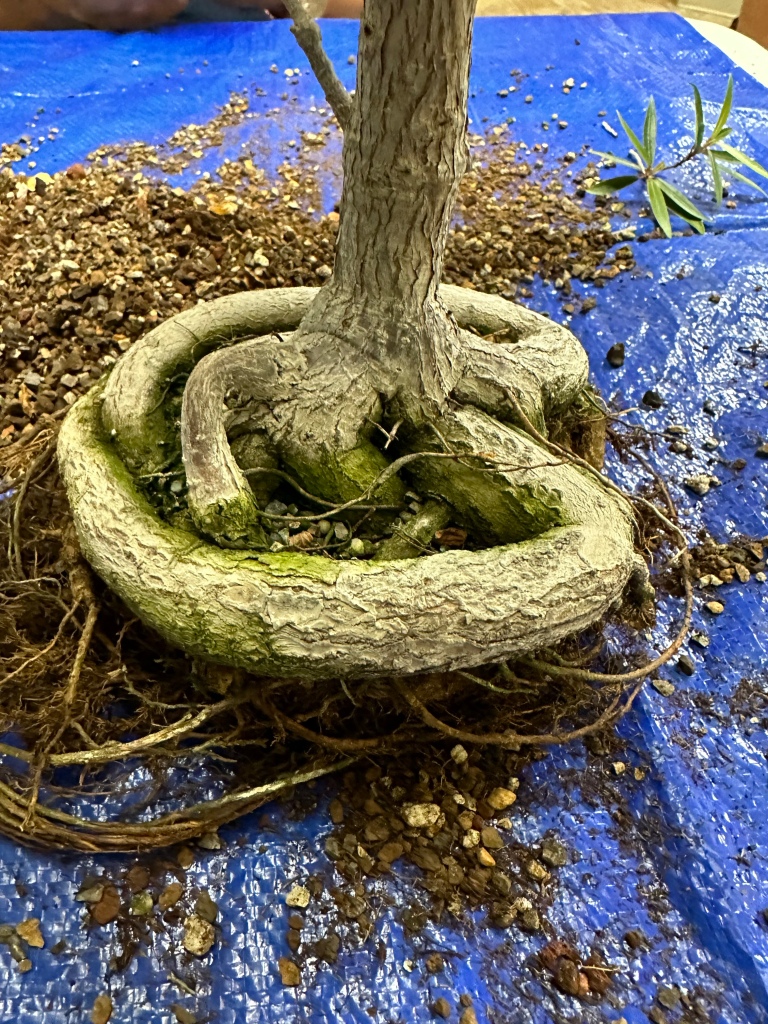
Rake it out.

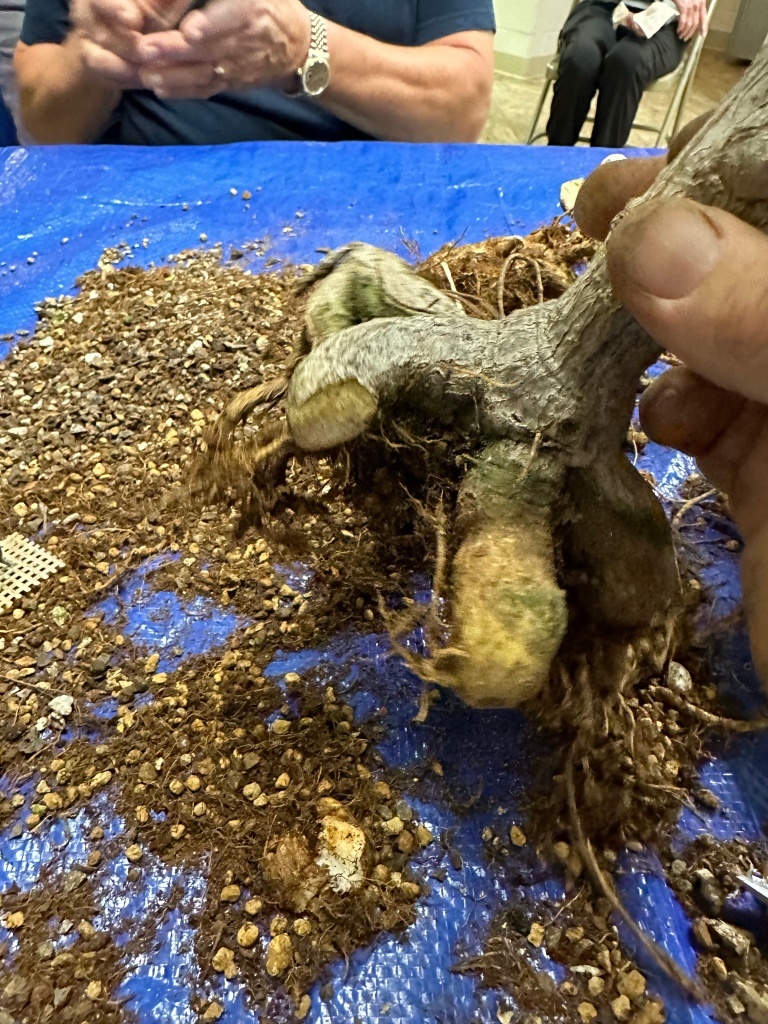
Unwinding the roots. This one went around the pot twice.

Cut back the long ones…

Rearrange the new ones

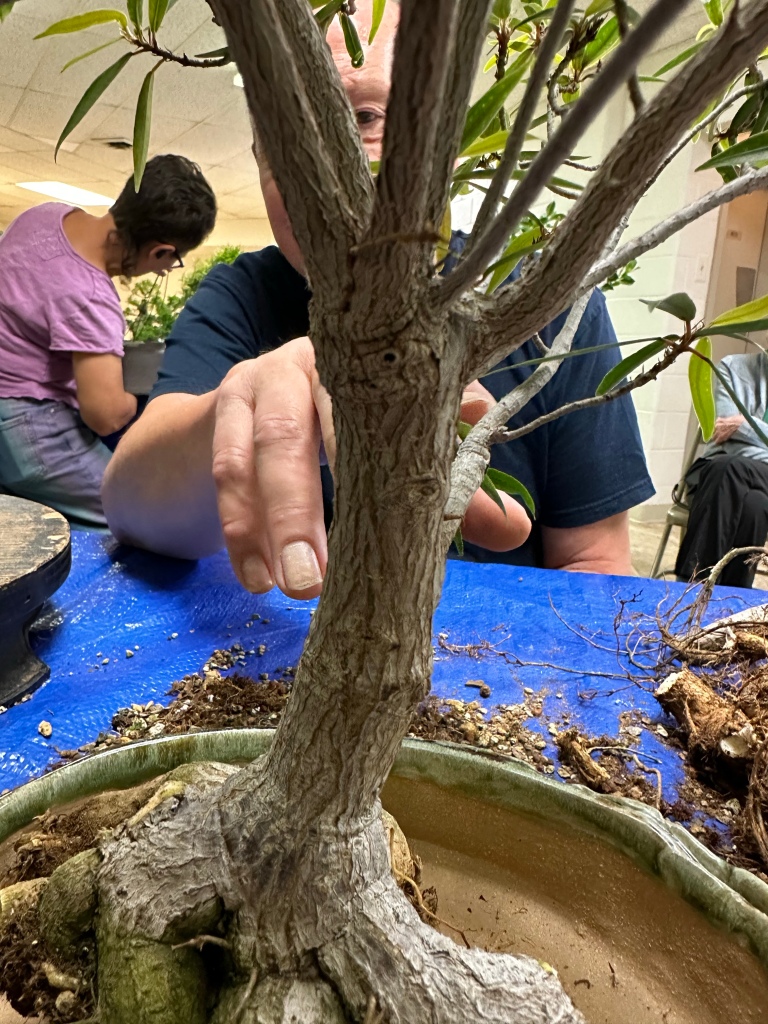
And now it’s time for the pot.

The pot is, believe it or not, a high quality Italian bonsai pot. High fired and of good clay.
Of course I tie it down.

Using the wire to hold some roots in place.

And fill it back in with good, well draining soil.

In the above pic, I’m pointing at a root I’ll split like I did in that original post (did you read it? Why not?)
Then some fertilizer.

And weed preventer.

And water it all in.

It’s hard to believe this tree started out with maybe four branches and a top. Especially it being a regular Ficus microcarpa, which isn’t know for much ramification.

But you can do it. You just need to follow the basics: cut it back, wire, let it grow, fertilize, unwire, cut it back, let it grow. Just keep doing that and you slowly build the tree.

It just takes time and work. Stay tuned for updates.