❌

Reading view

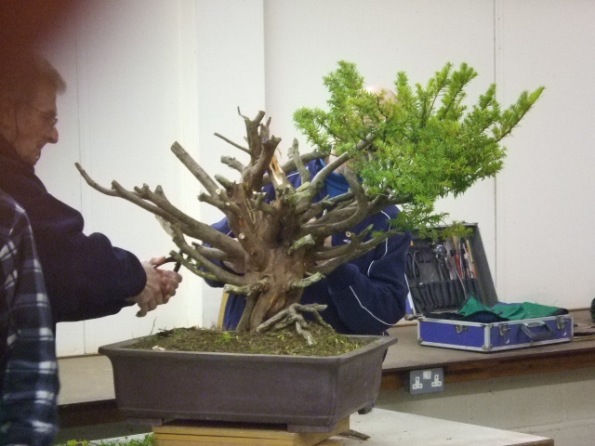
Frank’s Trident maple stump

It has been quite a journey with this tree and I have been happy to be involved and helping Frank whenever the tree has been brought to a workshop. At long last we are beginning to arrive at our destination.

April 2010 – This Trident maple was going nowhere so Frank decided to air layer the three trunks off and this was done with great success.
October 2014 – The tree had been allowed to grow again and was trying to get back to where we started!
I was not prepared to let this happen so I had to take appropriate action. A first branch selection was made.
June 2016 – The tree was back for another pruning.
After pruning and at least it looks a bit more convincing with some leaves on.
April 2017 – The tree is just so strong and bounces back really well.
The repeated growth spurts enables us to select and start to develop new branches which will make up the structure of the tree.
July 2017 – Trident maples are one of the best to work with for bonsai because they are capable of more than one flush of growth each season.
Some low branches are allowed to continue to grow to increase their girth.
May 2018 – Notice how the tree is getting bushier as we have more and more shoots growing.
Once again a selection is made and only specific branches are allowed to continue growing.
May 2019 – The tree has been allowed to grow for longer too help it get over the repot into a smaller pot.
July 2021 – All the time we are keeping the tree healthy and vigorous promoting strong growth and extensive back budding.
At last you can start to see some density in the image and an outline of what the finished stocky shohin image will look like.
May 2022 – The tree is a picture of health!
After yet another pruning.
September 2022 – A second flush of growth but now the first signs of autumn are here.
A final pruning before the leaves start to fall.

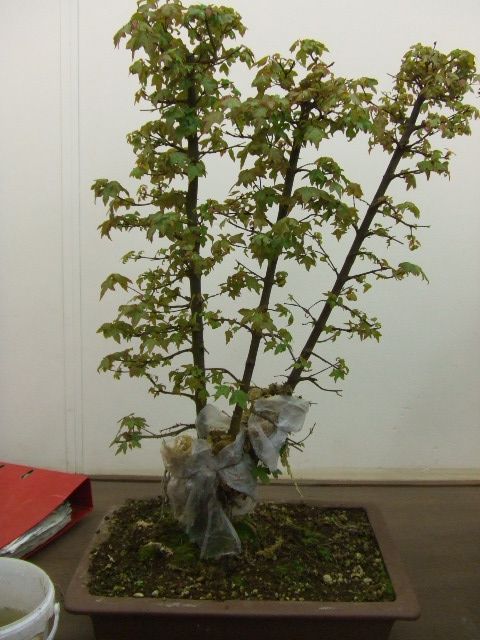
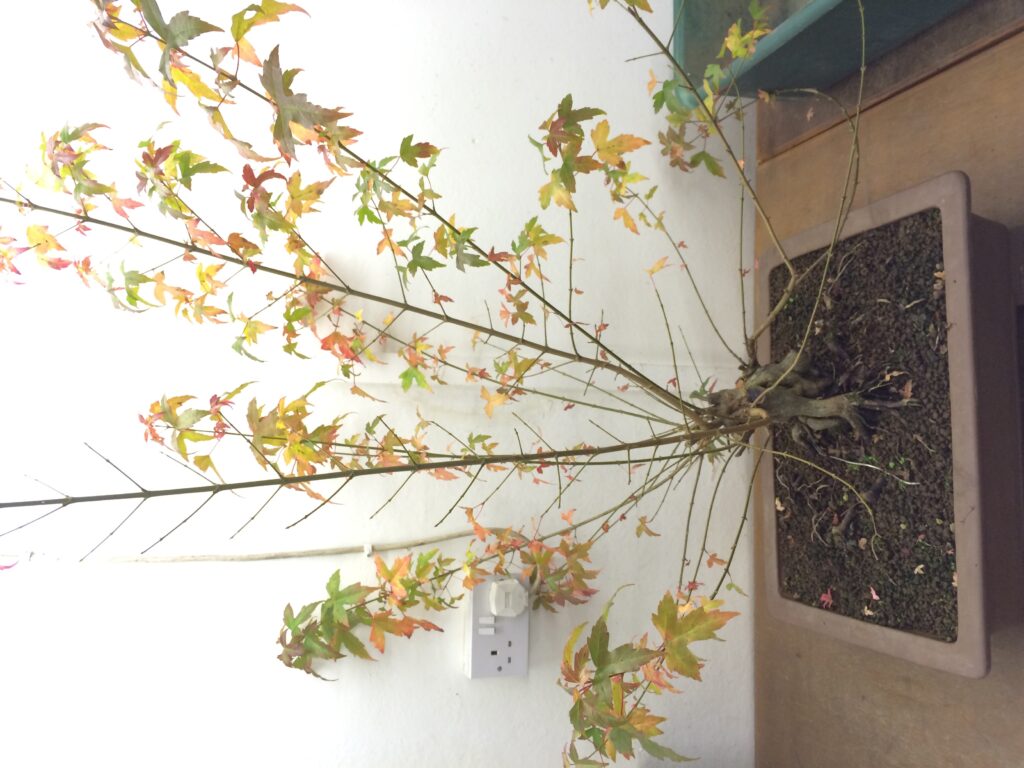
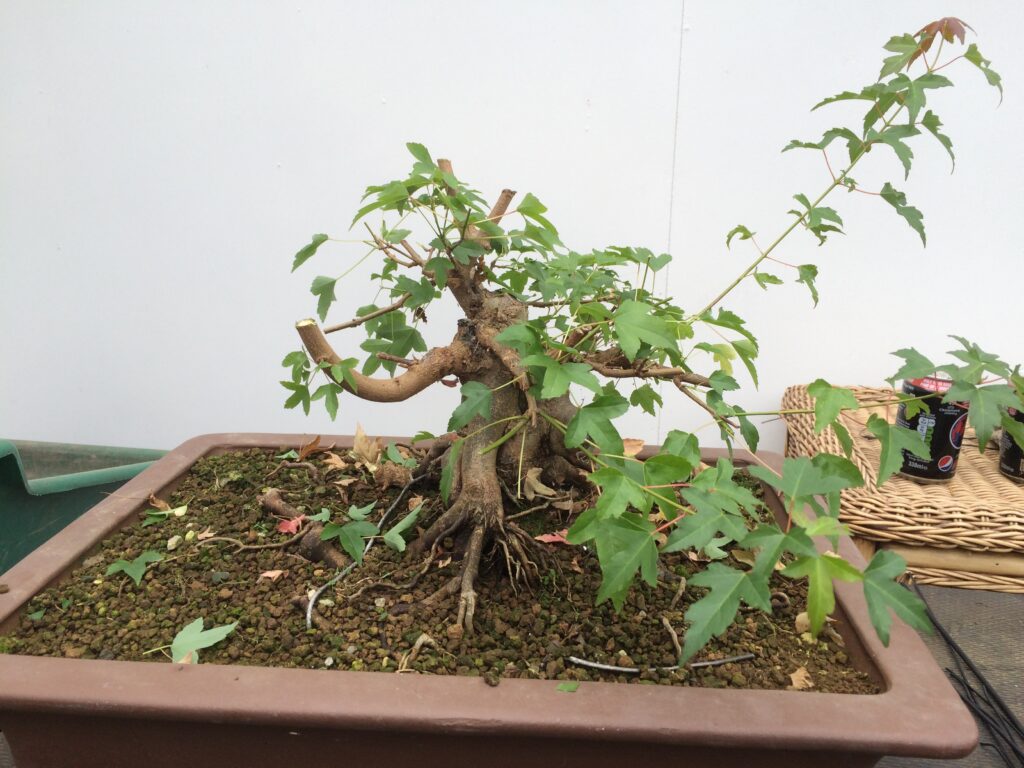
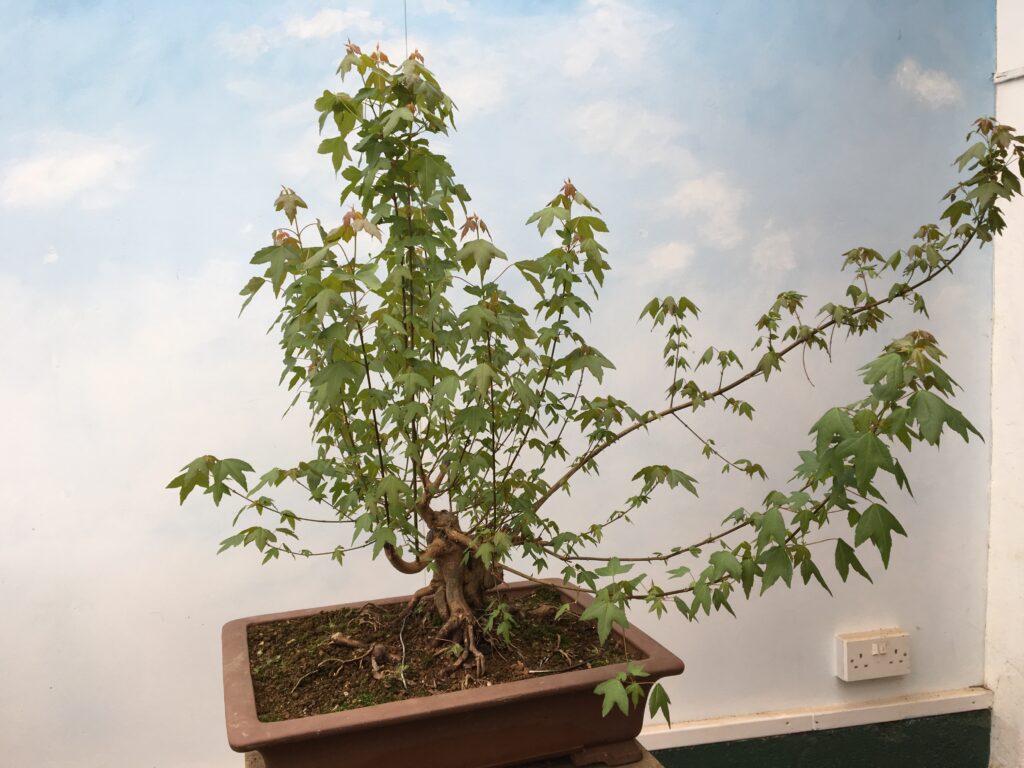
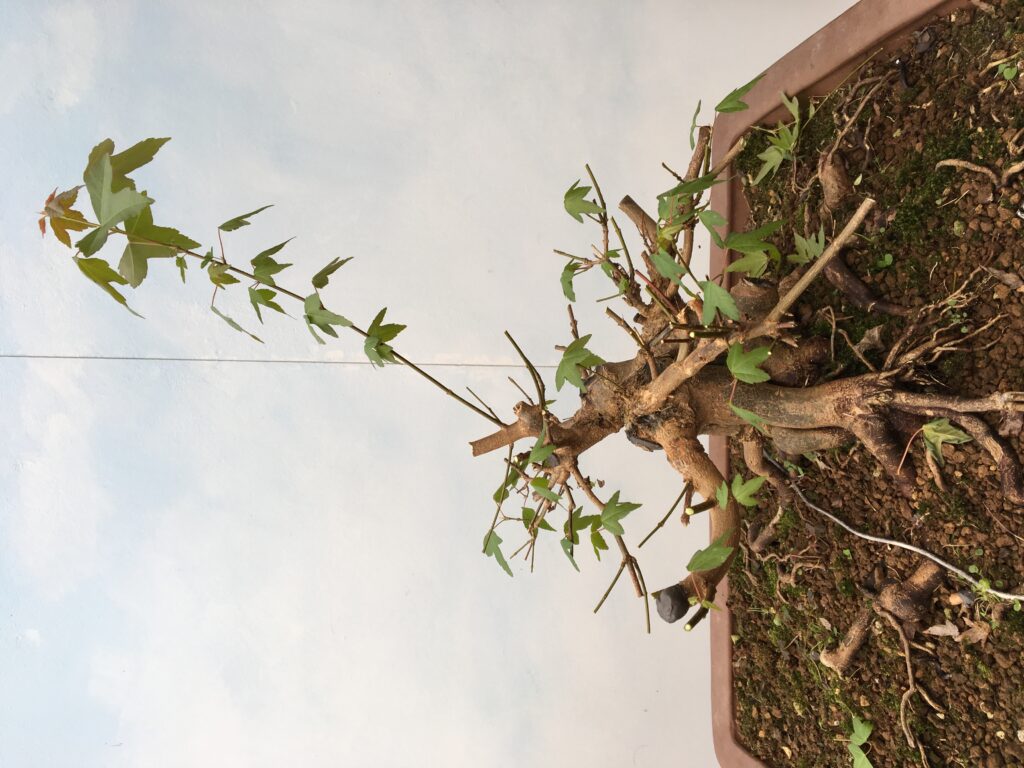
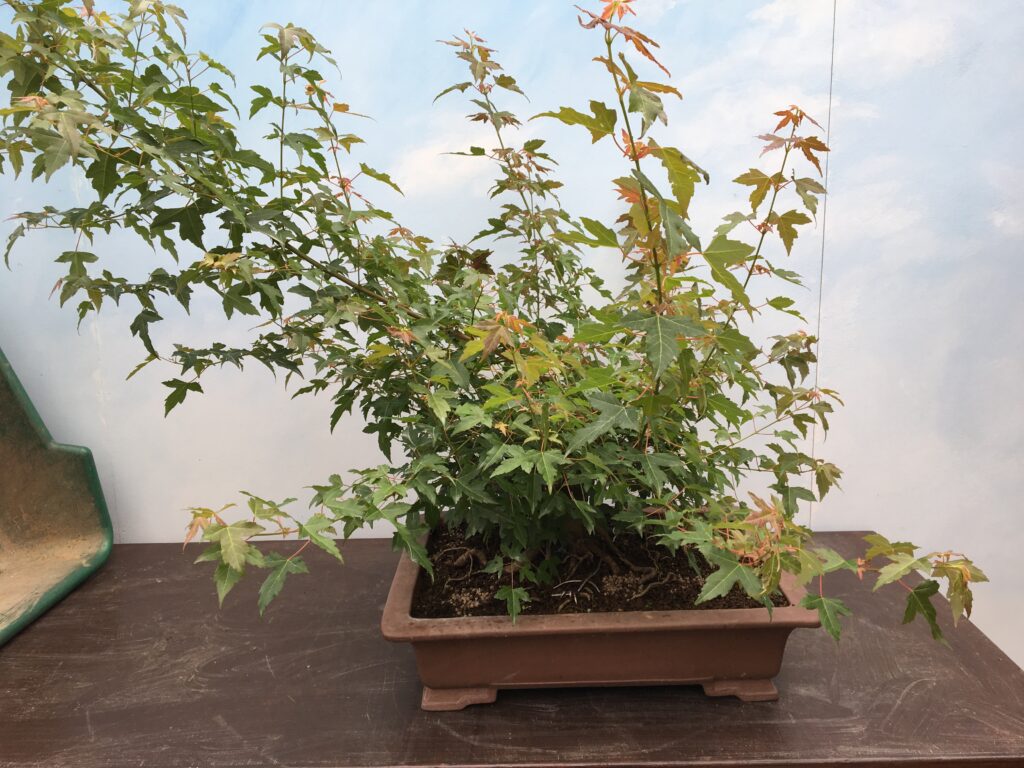
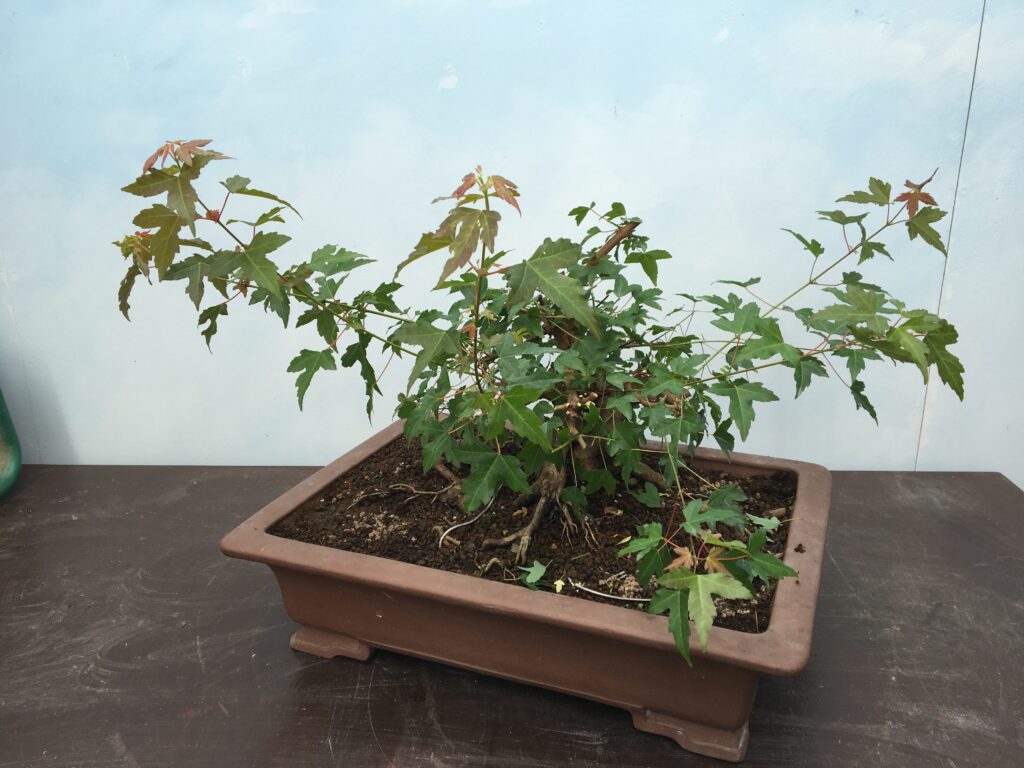
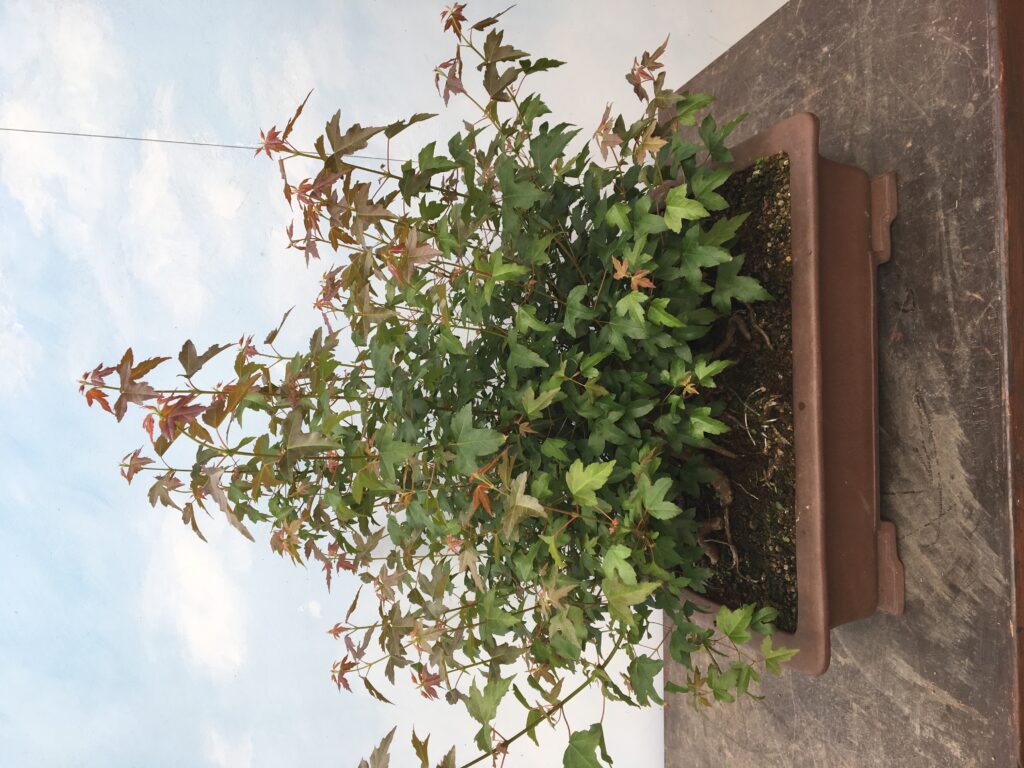
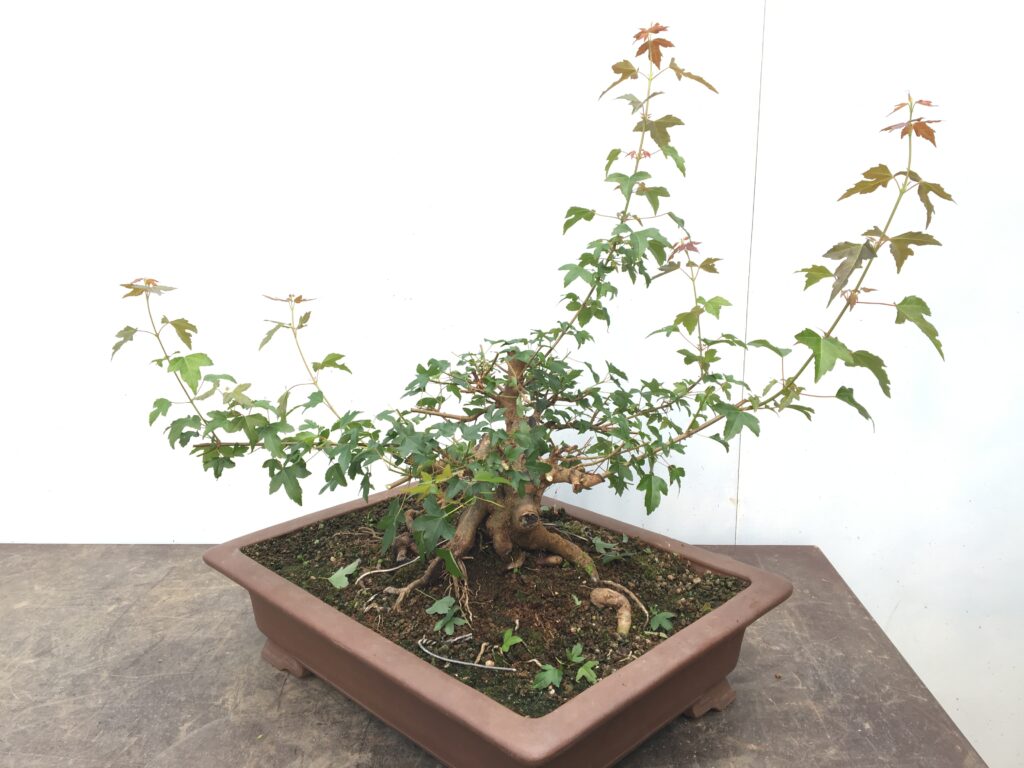
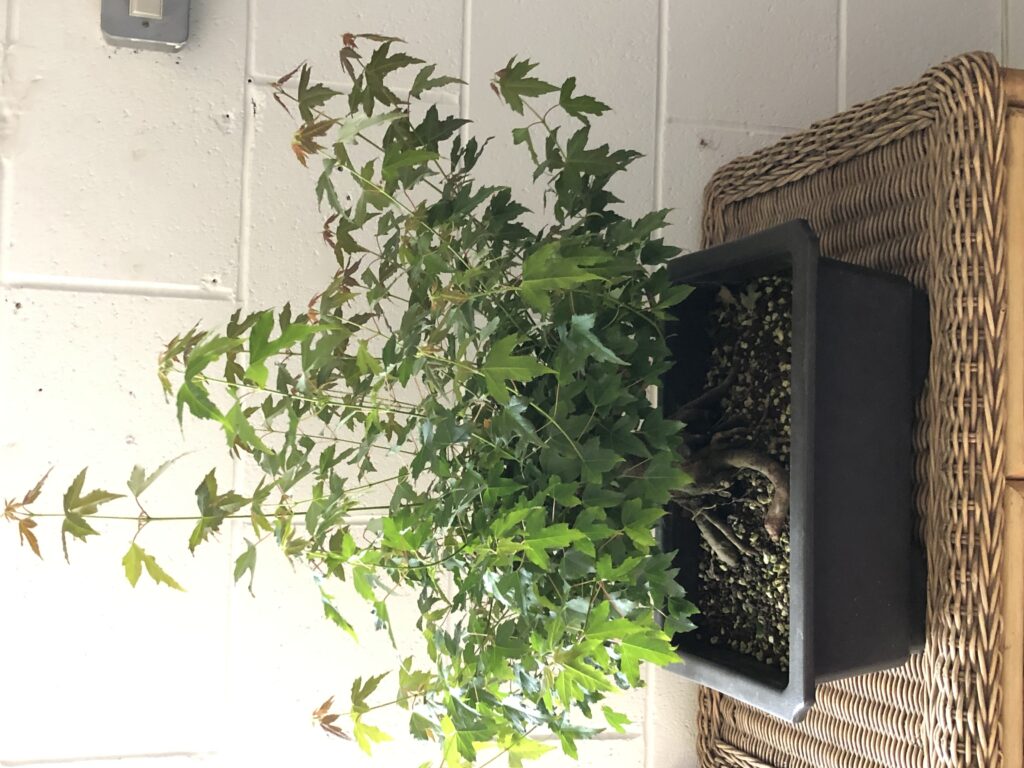
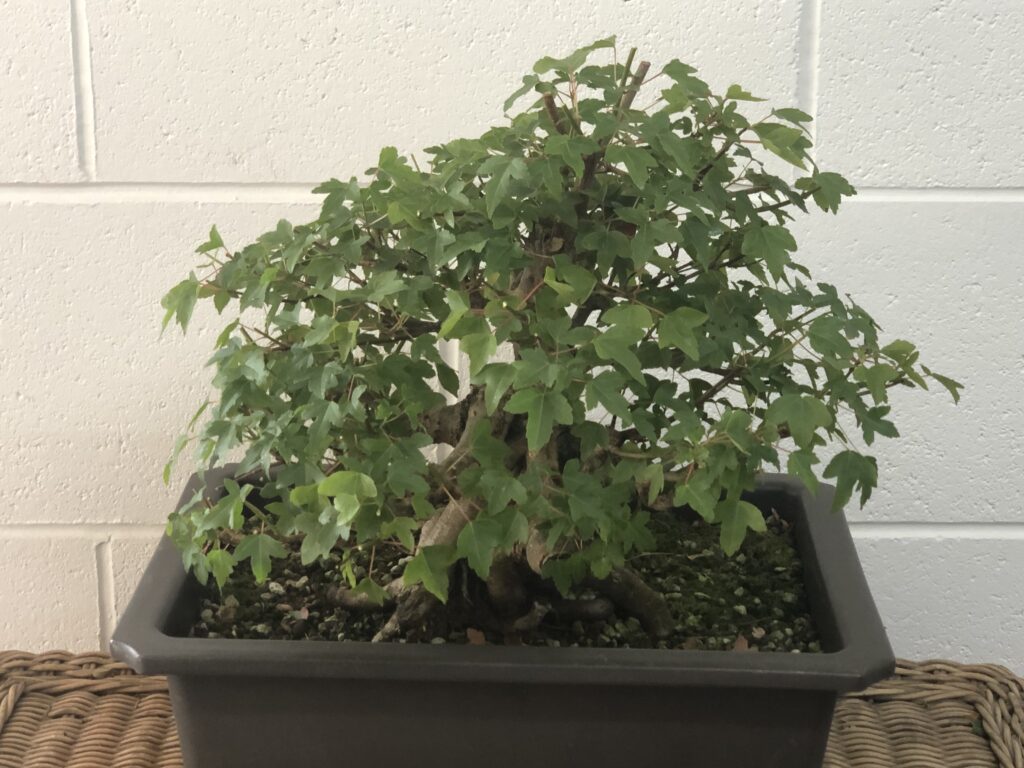
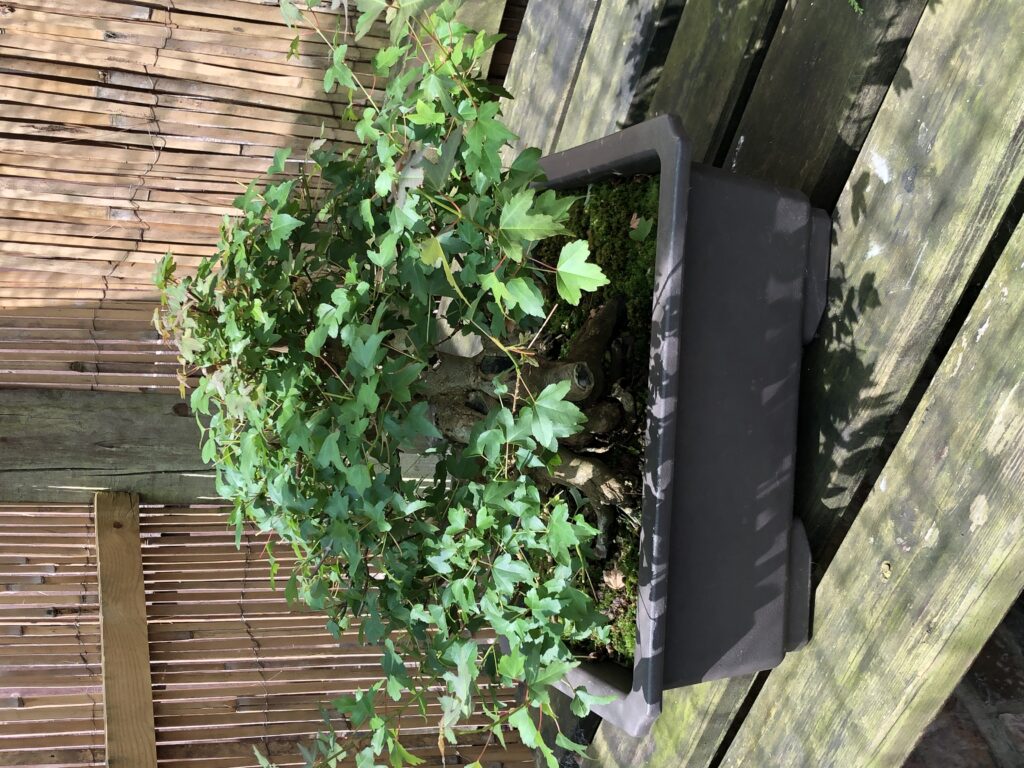
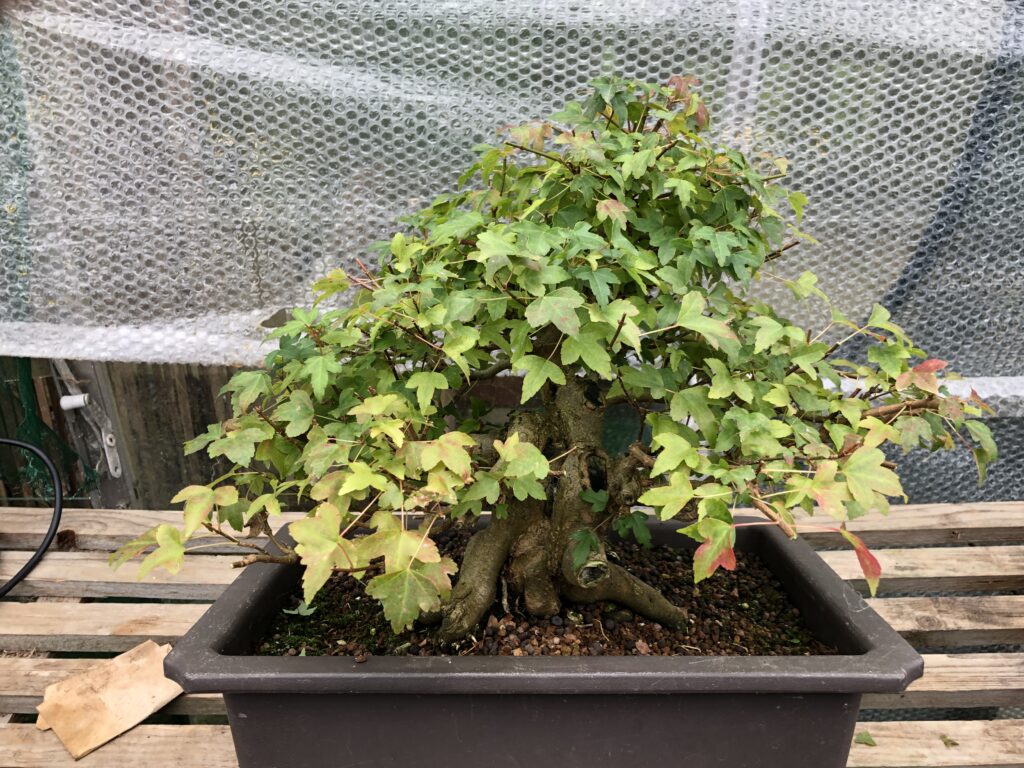
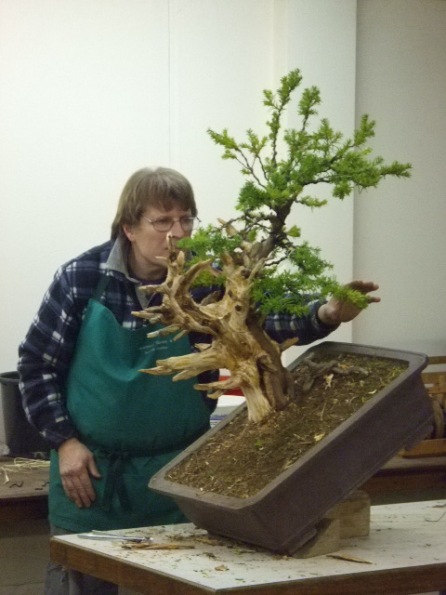
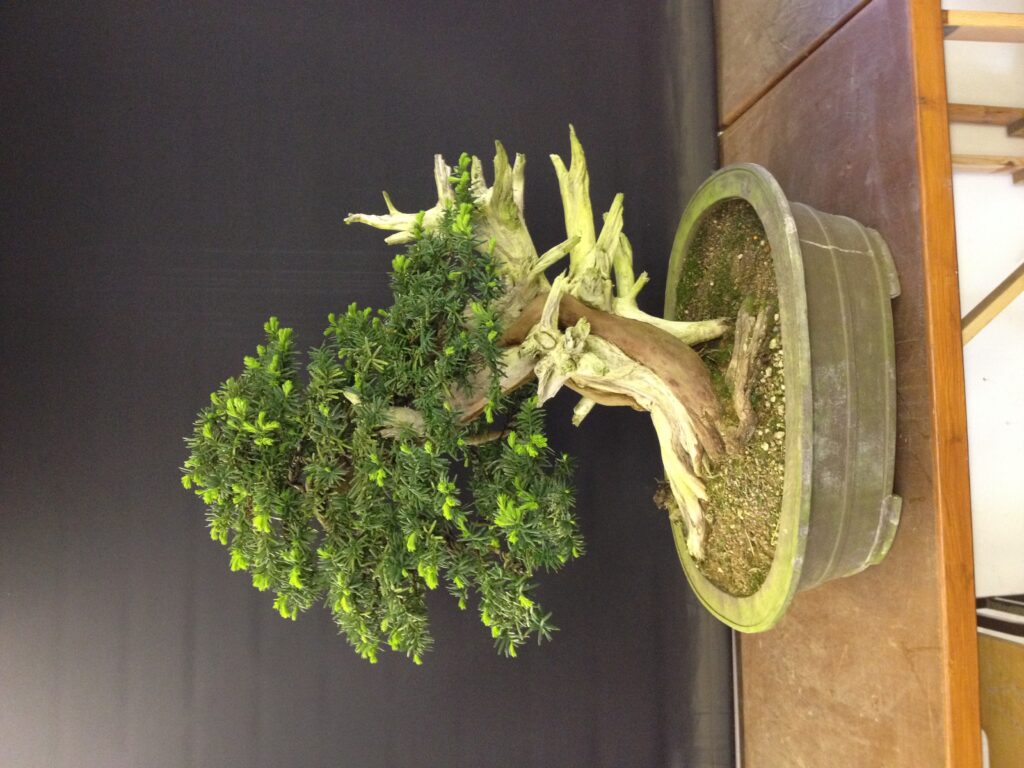
Its taken a long time to get to where we are today with this tree but it now bares no resemblance to what we started with. The successful air layers at the beginning of the project were really a bonus. The tree is now on the verge of reaching its full potential as a small powerful bonsai with an impressive stout trunk complemented by a rounded mature canopy.

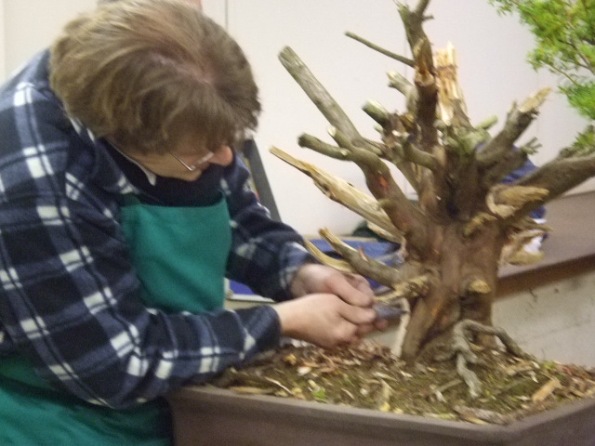
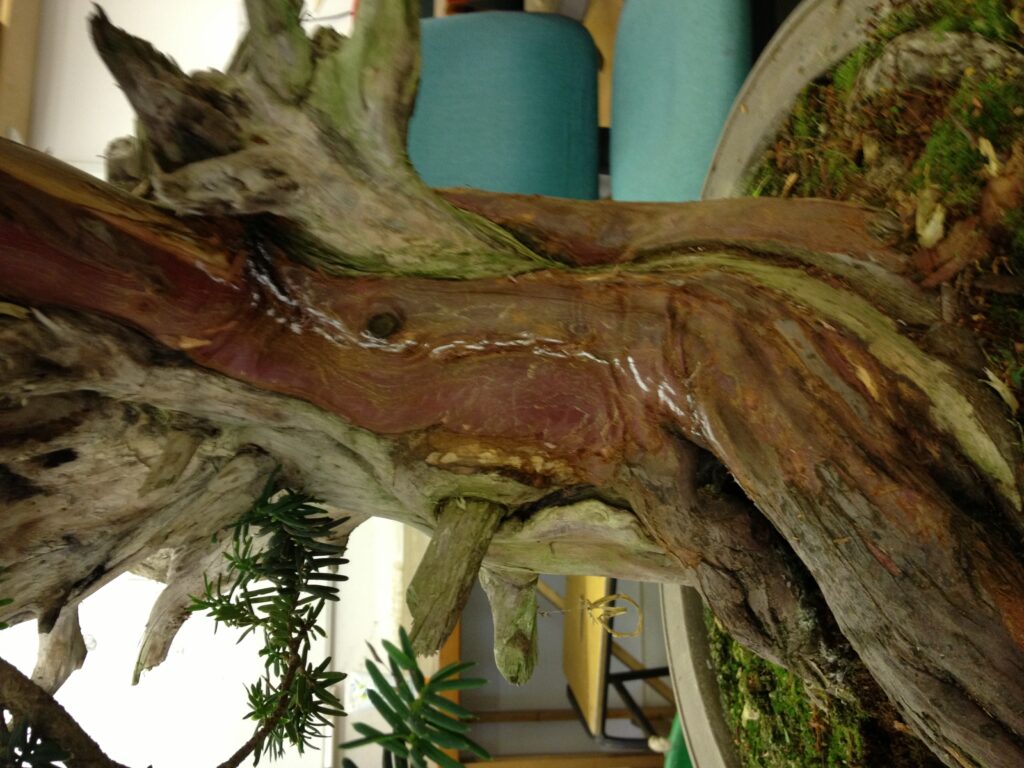
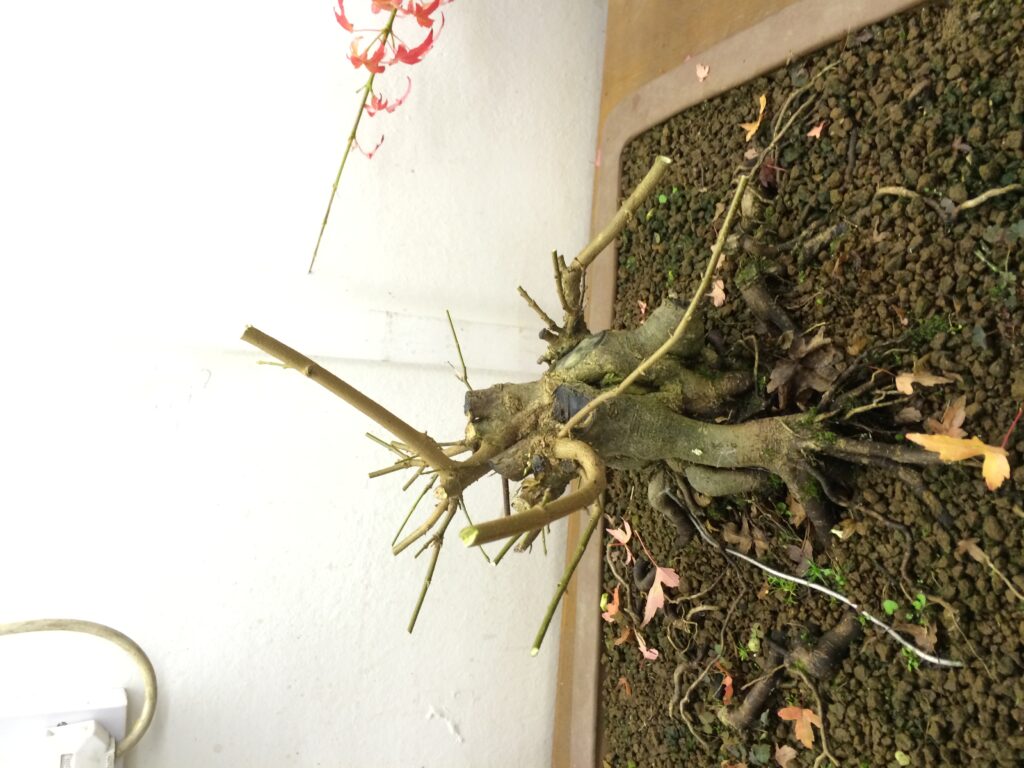
The scars from the air layers are callousing well but can now be hollowed out to enhance the image of a really old ancient tree.

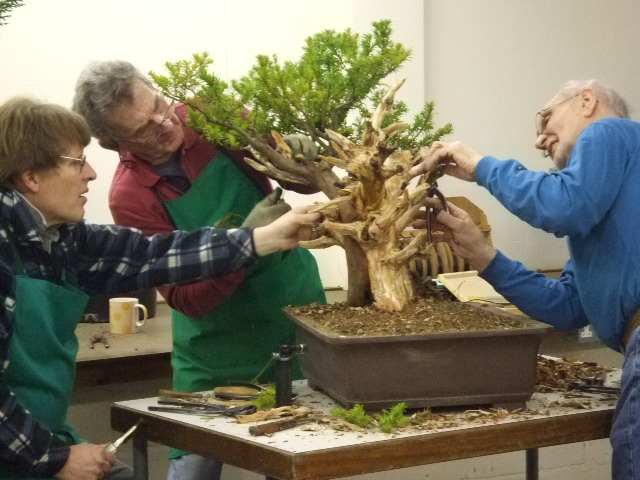
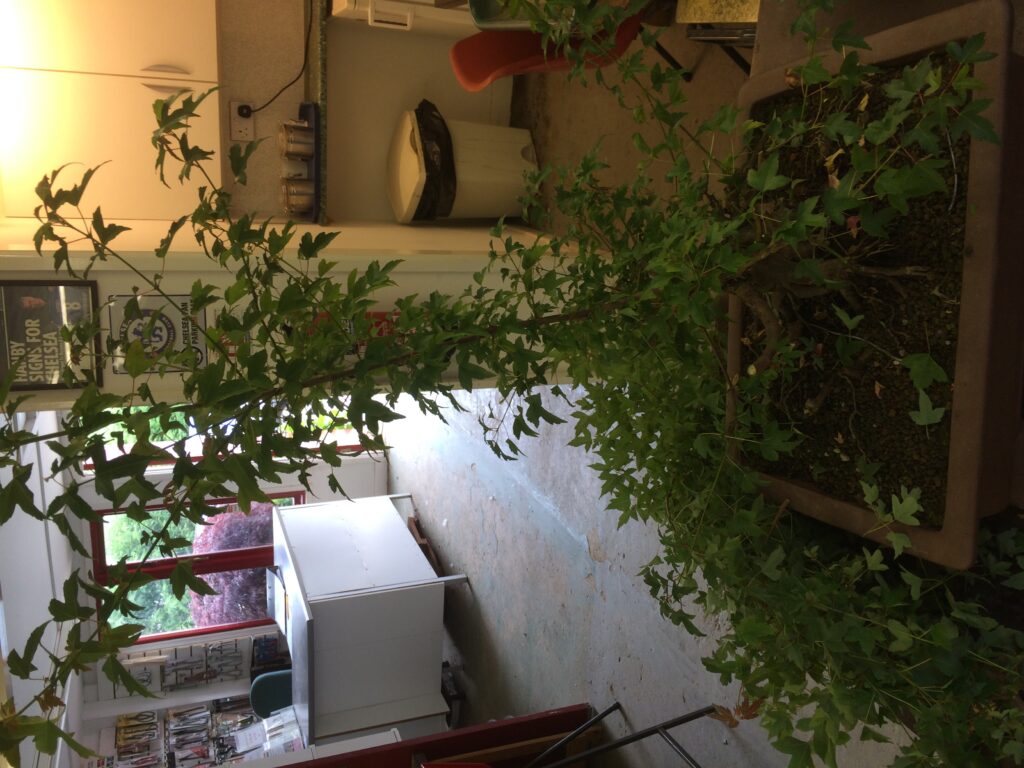
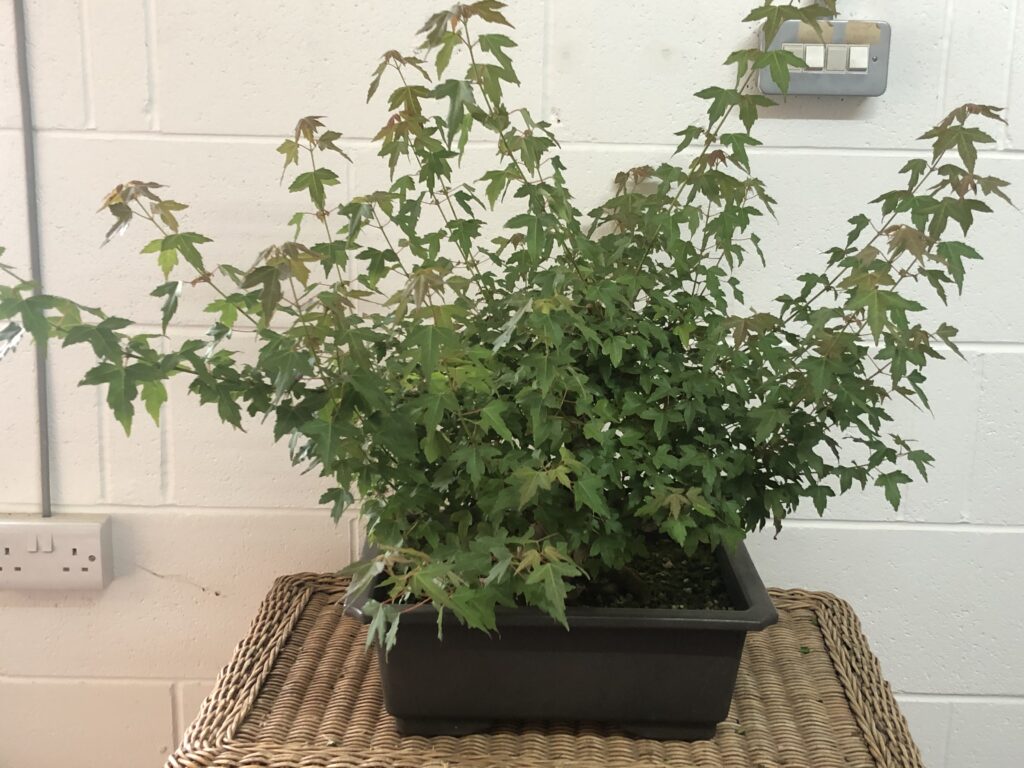
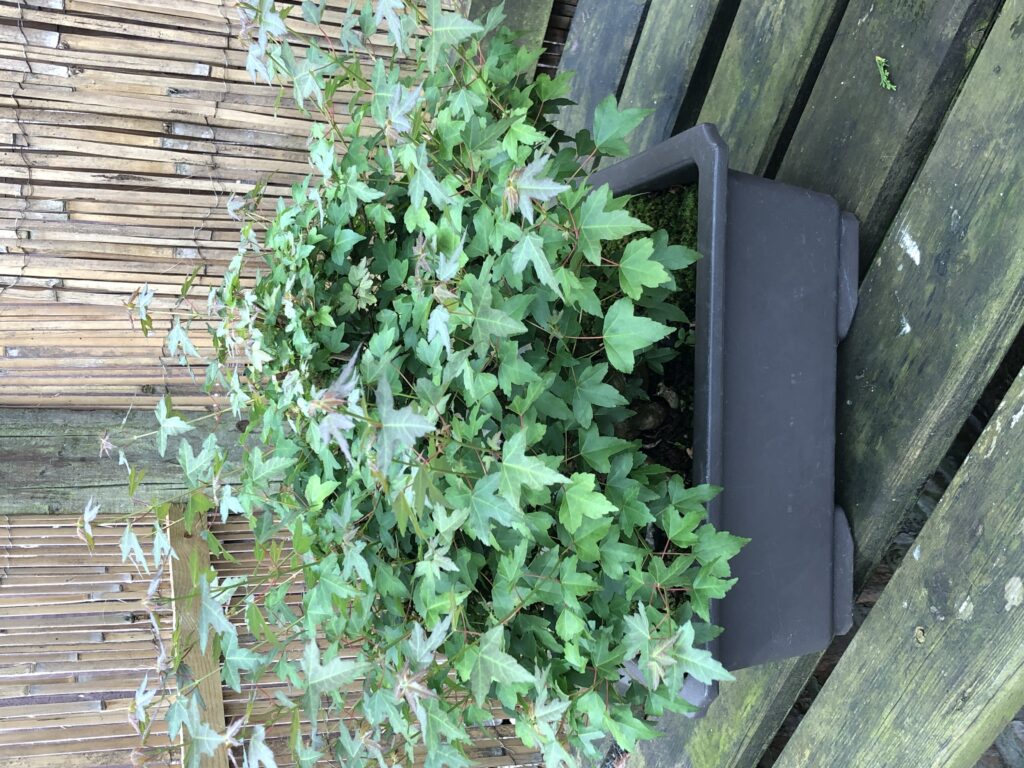
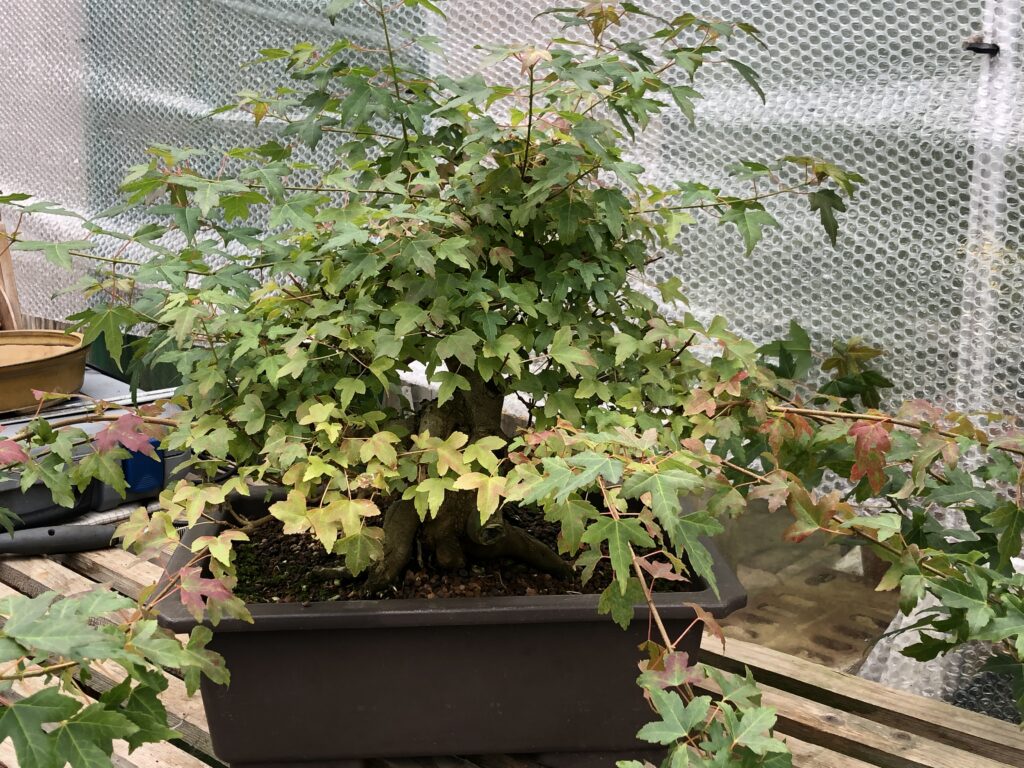
All the time we maintained the trees strong health and vigour concentrating on selecting and growing branches. These were then allowed to thicken before we started looking at refinement and compacting the image.

This hobby never fails to deliver immense satisfaction when you are successful in creating something special out of nothing!

  •  

The story of a Japanese Yew (Part One)

This is the story of a Japanese Yew (Taxus Cuspidata). I think I have told this story once before in my blog but for this new version I have unearthed some previously unseen early photographs whilst the story is brought up to date to a recent styling in February 2023.

January 2005 – The tree arrives from Japan somewhat unceremoniously wrapped in a hessian sack. There were four trees in the batch and I bought two of them.
February 2010 – The tree had been standing for sale on the nursery and despite a lot of interest remained unsold. It looked impressive but maybe people were unsure how to get the tree out of the raw material.
The numerous branches made the tree very complex. I decided to use this tree for one of my demo days in February 2010 to carry out its initial styling.
Sometimes you just need to have a closer look!
Basically I decided to remove the foliage areas edged in red and create the entire tree from the large first branch on the left.
It certainly looks different and now there is a lot of deadwood to create.
I marked out the edges of the live veins feeding the remaining live branch.
I then left my brilliant assistants Len and Derek to strip off the bark and create the deadwood.
A tree never had so much attention lavished on it!
The Remaining live branches were wired ready for positioning. So long ago I look more like Harry Potter here!!
The tree at the end of the demo after this first styling and propped up to show what the new planting angle will look like.

Quite a transformation and now with just two live veins feeding the remaining live foliage. The deadwood was made using hand tools only and looked really convincing considering it was newly created.

Keep an eye on the website for part two to catch up on the further development of this remarkable tree.

  •  

The story of a Japanese Yew (Part two)

March 2010 – Following the tree’s first styling in February I decided to carry out a repotting and set the tree at its new correct planting angle.
The tree has a dense fibrous rootball typical of the species.
The tree happy in a new pot with the planting angle adjusted. The protruding original rootball to the left will gradually be reduced and eliminated.
A view from the other side, the back of the tree.
February 2013 – The tree stands now with no wire on and the protruding rootball has been completely removed.
September 2013 – The tree has grown well, complete with self generated accent plant!
A chance to look at the live veins in more detail. The main vein has become so strong, narrower, more rounded and standing proud of the trunk. The upper left section of the vein has become redundant, died back and is completely flat.
The area cleaned up and the dead section removed creating a wider shari.
A section of the other vein to the right of the chalk line had also died back.
The bark can be safely removed. The interplay between the two live veins and the extensive shari areas becomes even more dynamic.
April 2014 – After another wiring and styling new growth begins to emerge.

The tree continues to develop and make good progress but at the tree’s own pace. In extending the deadwood areas and reducing the live veins I follow the tree. The tree has initiated this process rather than me trying to impose changes just for the sake of it.

The story of this tree will be continued in the next instalment on my website.

  •  

Susan’s Hawthorn transformation

September 2013 – Not exactly the most inspiring start! Basically a log with no taper and only a few branches.
We decided to work with one branch and alter the planting angle.
We induced taper by stripping back the bark and trunk. The root at the front has been weakened for removal at a later date.
June 2024 – Branches and twigs have been developed to create a pleasing mature looking canopy. The roots around the base have been improved and some carving work has been carried out to enhance the deadwood.

We have been working on this tree for just over 10 years but what a transformation….from impossible looking material to a very pleasing image.

The frustration comes when you have been working on a tree for 10 years and it looks basically the same as when you started. Bonsai need time to develop but you have to intervene when required to guide your tree in the right direction to the desired result.

Susan has done an amazing job with this hawthorn and should be very proud of her work.

  •  

A conifer with aspirations…..to be a bonsai…..

November 2013 – At this point in time Alan was relatively new to bonsai and turned up to a styling class with this pyramid garden juniper. I explained why it was not a good subject for bonsai due to its natural growth habit but then it became a challenge…..what could I do with it?
I removed some foliage….in fact most of it! ???? I would not normally recommend removing so much foliage on a juniper in a single session like this. I suppose we were desperately trying to be creative.
The finished tree after our first styling session.I must admit I was amazed at the time how we managed to achieve this. The result was very plausible.
September 2016 – The tree had bounced back remarkably. It was really strong and vigorous.
So naturally we had to thin out again. It is gaining more stature but still wants to return to its pyramidal shape.
September 2022 – It is a real credit to Alan how well he looks after his trees and how well they grow as a result.
After another pruning session. The tree is looking really substantial since that first styling session and actually making a pleasing image.
August 2025 – Once again I have to go through the foliage and take out the strong upward growing tips to encourage him to make more horizontal outward growth on the branches and not revert to his original pyramid shape.
The resulting canopy is more open and the inner structure is visible which is good for both health and appearance. The two lower branches are now out of proportion and we have discussed their possible removal, leaving deadwood jins in the first instance. The tree would also now benefit from another wiring session to further open out some of the branches.

This has been and continues to be a really interesting project. We have created a tree like image out of seemingly impossible bonsai raw material. the tree has a strong resemblance to a lone Scots pine on a distant open landscape. It’s future may well be as a silhouette type bonsai without the detailed wire design normally associated with juniper bonsai.

Once again time has helped us to create a remarkable transformation. A conifer that nobody would ever consider as being suitable for creating a bonsai but maybe this tree has aspirations to prove us all wrong…..

  •  

β€œTime” for Diane’s Scots Pine forest…..

2007 – This was when I first encountered both Diane and her forest. She confessed she had no idea what she was doing and yet she had managed to create this small forest from small seedlings.
This picture dates from around 2009/10. With positive signs of new growth.
October 2012 – Despite the confines of the shallow pot the group is beginning to show a nice more rounded image.
February 2013 – The roots are pruned and the tree is repotted.
The tree is now back in its pot with some fresh compost.
September 2014 – Eighteen months after the repot and the trees has responded well with new refined growth and a more mature image.
October 2016 – Many bonsai hobbyists struggle with pines in their early years. It is often one of the last trees they get to grips with and yet here Diane is producing a convincing dense Scots pine image in a very small scale.
October 2016 – The tree after pruning during one of my visits.
March 2017 – The tree is rewarded for its growth and development with a nice new larger pot. The shallow depth and planting to one side enhances the feeling of a natural landscape.
April 2019 – Candles are extending and how well this tree looks compared with what Diane started with.
March 2020 – The tree continues to go from strength to strength in terms of health, vigour and refinement. A complete wiring of the branches would produce an amazing image.

Often we use Juniper material to create the image of a pine forest we might have seen during a road trip. To recreate that image using genuine Scots pine trees and in this size is a quite remarkable achievement of which Diane can be truly proud. I am happy to have played my part in guiding her along the way but once again the biggest contributor is simply β€œtime”!

  •  

The Cedar that wanted to be a cloud tree…..

August 1st 2017 – our first meeting
The other side!
After the first pruning.
July 8th 2019 – Before pruning.
After pruning.
October 7th 2020 – Before pruning.
After pruning.
May 19th 2022 – Before pruning.
After pruning.
April 3rd 2023 – Before pruning.
After pruning.
April 16th 2024 – Before pruning.
After pruning.
March 28th 2025 – Before pruning.
After pruning.
September 16th – During pruning.
After pruning.

What a great story in pictures! Jeanne my client deserves full credit for seeing the potential in this tree. It has been a privilege for me to help her achieve her dream.

This tree can indeed hold its head up high with the prowess of a Japanese cloud tree and the beautiful foliage of the blue cedar. All created with a yearly pruning, a ball of string and a little bit of bonsai wire.

Isn’t it time you looked at the trees in your garden??

  •